Rolled Beeswax Taper Candles (No Melting Required)
Rolled beeswax taper candles are made by rolling a sheet of beeswax around a wick, with no melting, no mould, and no hot wax. You cut the sheet to size, lay the wick along one edge, roll it up tightly, and trim the top. It takes about 15 minutes for a pair of candles, costs a few dollars per candle, and needs no candle-making experience — and because nothing is melted, there are no temperatures or fragrance amounts to get wrong.
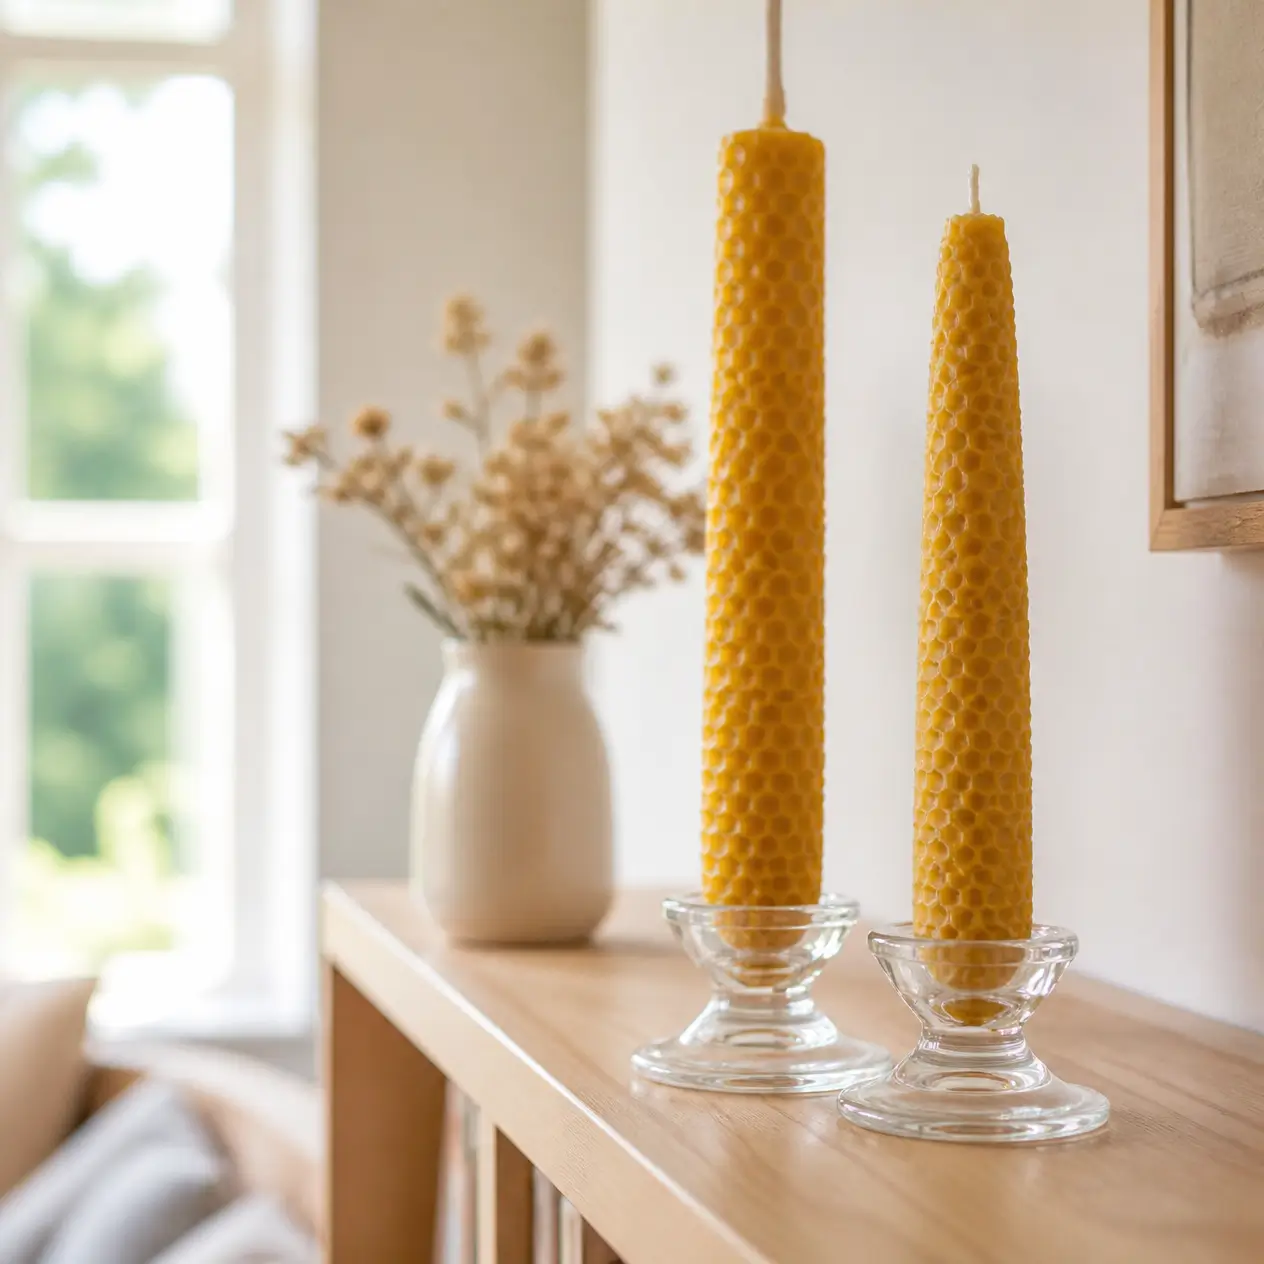
These are the candles to start with. They look handmade in the best way — a honeycomb texture, a warm honey colour, and a clean, straight taper — and they make a gift that looks far more expensive than it is. Make a pair in an evening and they are ready to burn the same night.
| Skill level | Beginner — no candle-making experience needed |
| Active time | About 15 minutes for a pair |
| Drying / waiting time | None — ready the same evening |
| Candles per batch | 2 taper candles |
| Cost | A few dollars per candle, plus one pack of beeswax sheets |
| Difficulty | Easy |
Safety first: never leave a burning candle unattended, and never burn a candle near curtains, paper, or anything that can catch fire. Burn rolled candles in a proper candle holder that catches drips, on a flat, heat-proof surface, away from children and pets. Trim the wick to a short length before lighting — follow the length given on your beeswax sheet pack, because wick sizes differ by supplier. Do not add fragrance oil, essential oil, or dried flowers to a rolled candle. If the flame grows tall or the candle smokes, blow it out and let it cool before relighting.
What You Will Need
- 1 sheet of beeswax, honey colour, about 8 inches by 16 inches — enough for 2 taper candles
- 1 length of cotton candle wick, pre-cut to the sheet size — use the wick that comes with your beeswax sheets, or the size your supplier recommends for that sheet
- A ruler and a pencil
- A craft knife or sharp scissors — adult use only
- A cutting mat or a piece of thick cardboard to cut on
- A hairdryer on low, warm — optional, for softening the wax on a cold day
- 2 taper candle holders that fit your finished candles
- A dark green fabric cloth as your work surface
Step 1: Gather Your Materials and Cut the Sheet in Half
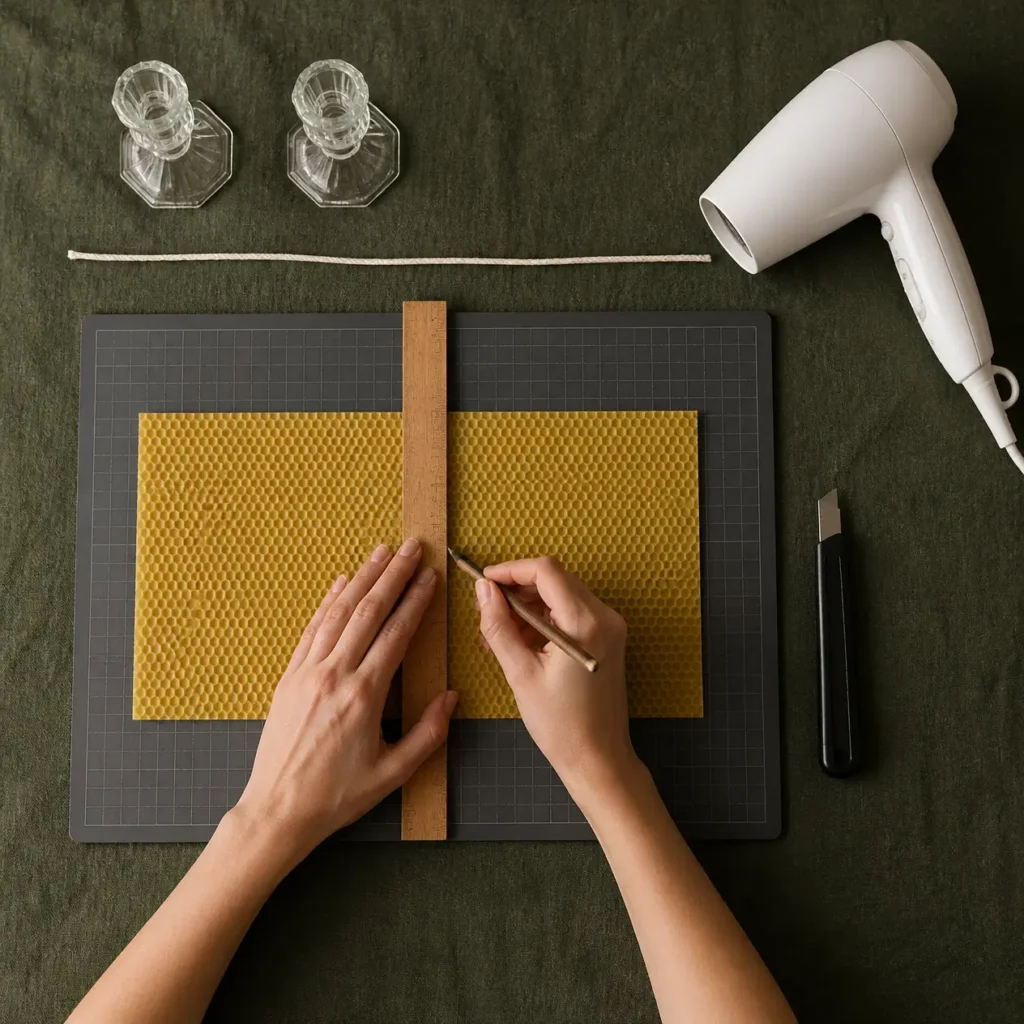
Lay everything out on the cloth before you start. Put the beeswax sheet flat in the middle, honeycomb side up, the wick beside it, and the ruler, pencil, craft knife, and cutting mat to one side. Measure the sheet and mark the middle with the pencil, then cut it in half across the short side, so you have two pieces, one per candle.
Do this first and the rolling never has to stop while you search for a tool. A beeswax sheet left half-rolled while you look for scissors will cool and crack.
Step 2: Lay the Wick Along the Edge
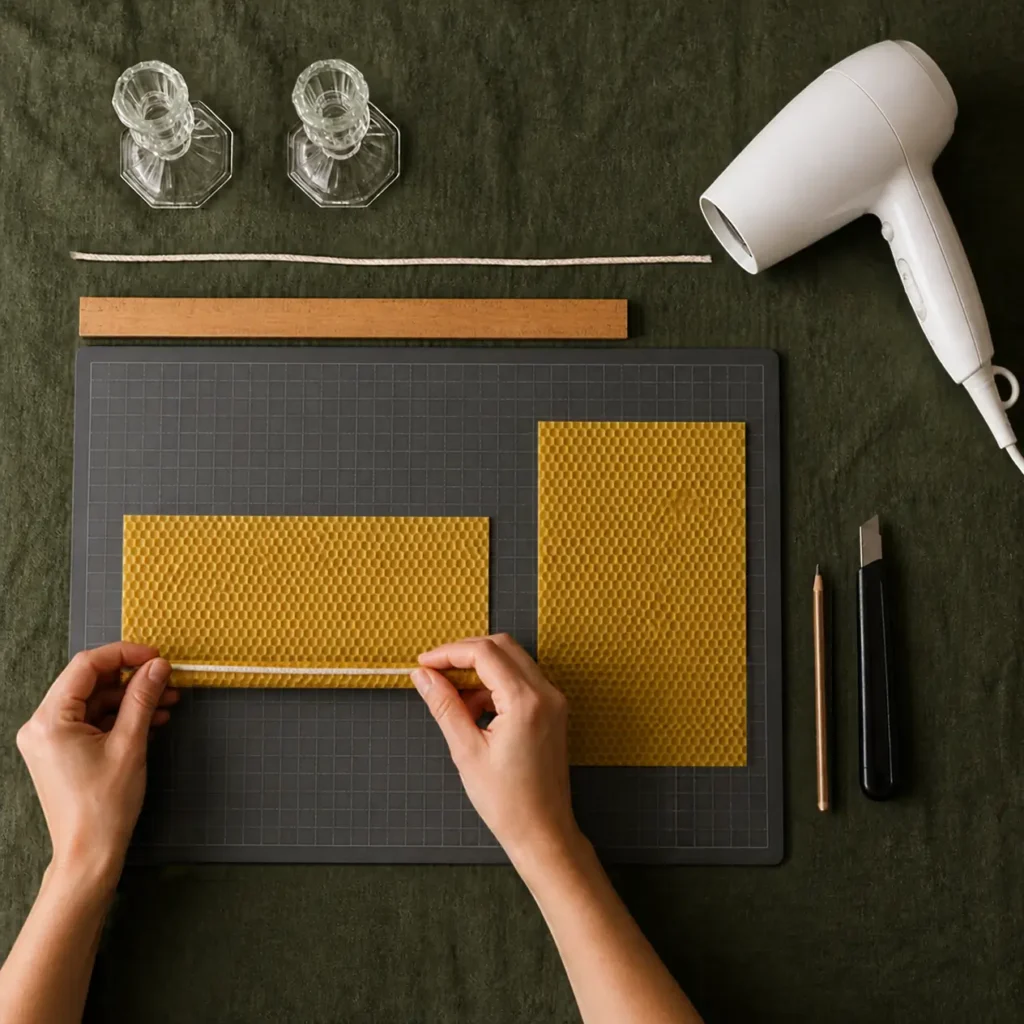
Take one half-sheet and lay it flat, honeycomb side up, with the long edge facing you. Lay the wick along that long edge, leaving a short length sticking out at the top — about the length of your thumbnail — and the rest of the wick flat against the wax. Press the edge of the wax over the wick with your thumb, so the wick is trapped inside the first fold.
If the wax feels stiff and cracks when you fold it, warm it for a few seconds with the hairdryer on low, held a hand’s width away. Warm wax rolls; cold wax cracks.
Step 3: Roll the Candle Up Tightly
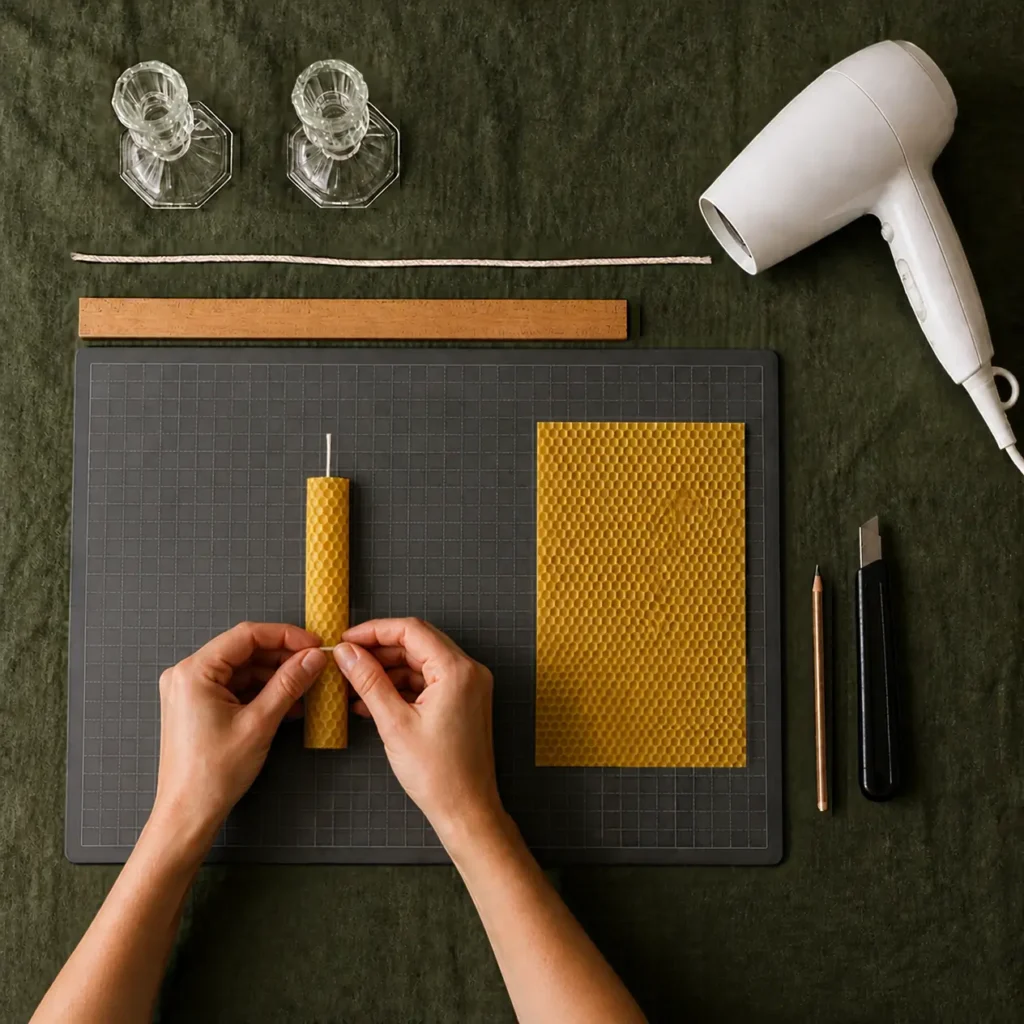
Roll the sheet away from you, slowly and evenly, keeping the edges lined up so the candle stays straight. Press gently as you roll — firm enough that the layers stick to each other, soft enough that you do not squash the candle flat. When you reach the end, press the final edge down with your thumb and smooth it with the flat of your hand.
A good roll feels solid, not spongy, and stands up straight on its own. If it wobbles, unroll the last turn and roll it again — beeswax forgives one re-roll, but not three.
Step 4: Trim the Wick and Shape the Top
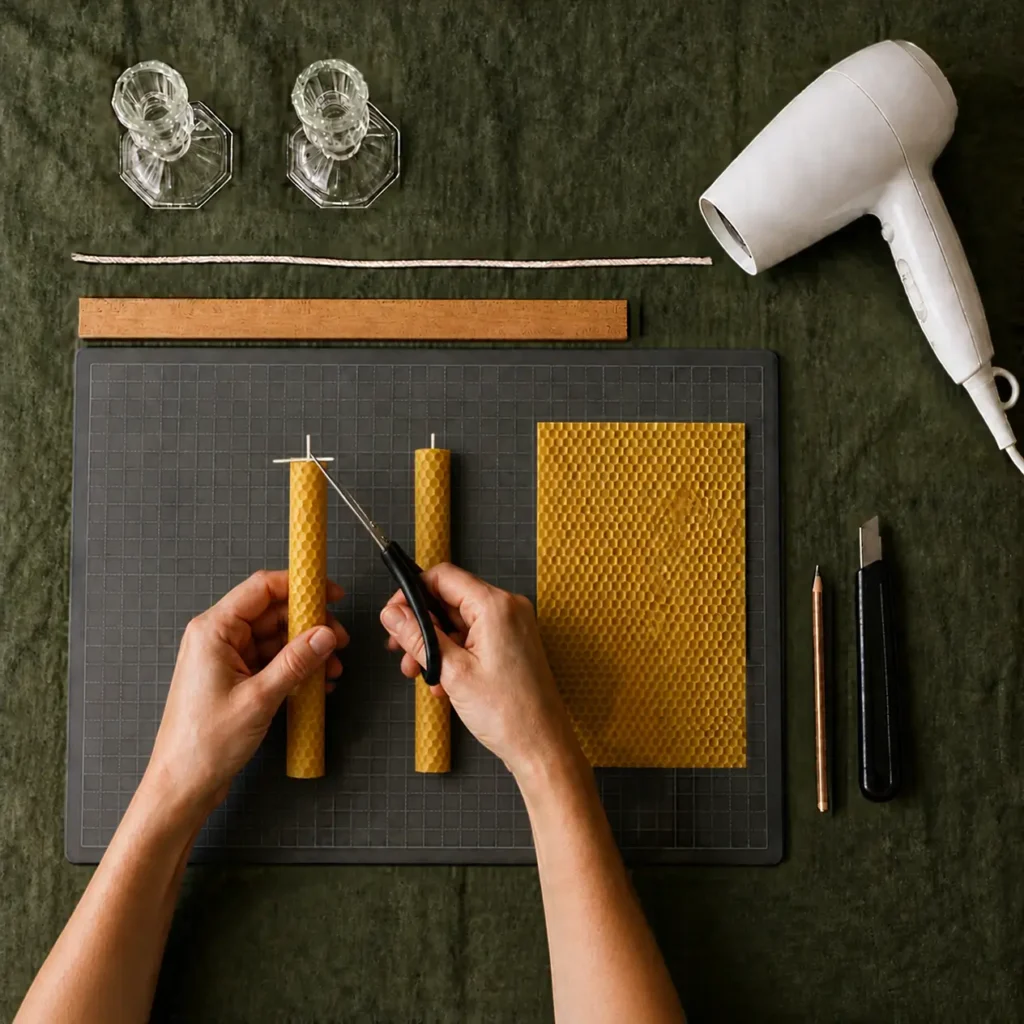
Stand the candle upright and look at the top. Trim the wick to the short length given on your beeswax sheet pack, using the scissors, and pinch the top edge of the wax around the wick so it sits in the centre. Then roll the second candle the same way, from the second half-sheet, and stand the pair side by side.
The two candles will not be identical — one will always be a little thicker than the other — and that is fine. Handmade tapers are supposed to look handmade.
Step 5: Put the Candles in Holders and Check the Fit
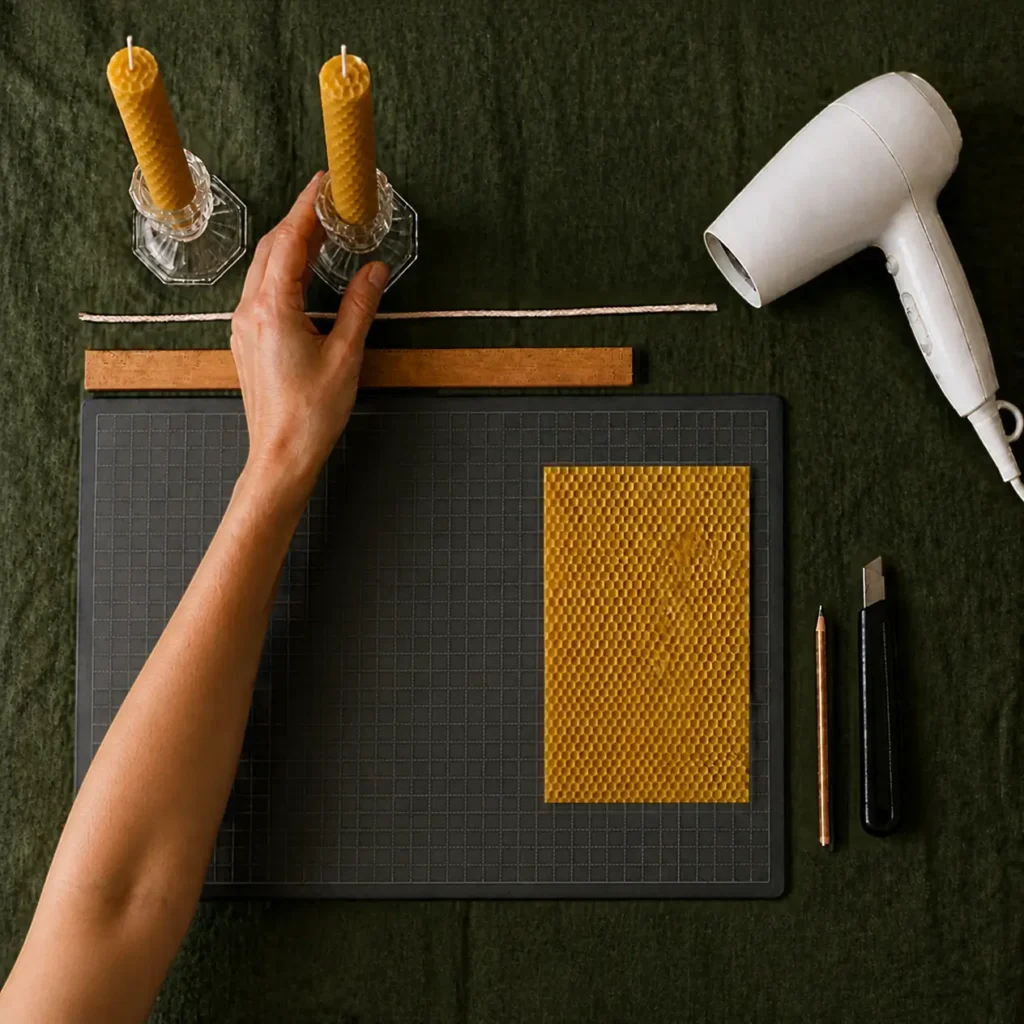
Push each candle gently into a taper holder, twisting it slightly as you push, until it sits firmly and does not wobble. If a candle is too loose in the holder, wrap one turn of the spare wax edge around its base, or use a holder with a narrower socket. Do not light a candle that wobbles in its holder.
Leave the finished pair on the cloth for a few minutes, then put them on a shelf or a table. They are ready to burn the same evening, in a proper holder, on a flat, heat-proof surface, with someone in the room.
Tips
- Buy beeswax sheets and wick together, from the same supplier, so the wick size matches the sheet. Do not guess a wick size — a wick that is too thick burns too hot, and a wick that is too thin drowns in the wax.
- Roll on a cool day, not a hot one. Warm hands and a warm room make the wax soft and sticky; cool hands make a clean, tight roll.
- If the final edge will not stick, warm it for a few seconds with the hairdryer on low and press it down again. Do not use a lighter — it will scorch the wax.
- Make a pair, not a single candle. One taper looks lost on a table; a pair looks like a set, and a pair is what people give as a gift.
Variations
- Coloured tapers: use a coloured beeswax sheet — sage green, burgundy, or cream — and roll it the same way. The honeycomb texture shows through the colour.
- Short dinner candles: cut the sheet in half again before rolling, for shorter tapers that fit small holders. Trim the wick to the same short length.
- Gift pair: roll one honey and one sage green candle, tie them together with a piece of string, and add a small paper tag. They are ready to give as they are — no box needed.
Frequently Asked Questions
Do I need to melt wax to make rolled beeswax candles?
No. Rolled beeswax candles use sheets of beeswax, rolled around a wick by hand. Nothing is melted, so there are no temperatures, no mould, and no hot wax to handle.
How long do rolled beeswax taper candles burn?
It depends on the size of the candle and the wick that came with your sheets, so follow the burn time on your supplier’s pack. As a rule, a taper burns for a few hours — never leave it burning unattended, and blow it out before you leave the room.
Can I add fragrance to a rolled beeswax candle?
No. Do not add fragrance oil, essential oil, or dried flowers to a rolled candle. They change how the candle burns and can make the flame flare. Beeswax already has a natural honey scent of its own.
Why is my rolled candle cracking?
The wax is too cold. Warm the sheet for a few seconds with a hairdryer on low, held a hand’s width away, and roll it again. Do not force a cold sheet — it will crack along the honeycomb lines.
Are rolled beeswax candles safe for beginners?
Yes, with the usual candle rules: burn in a proper holder, on a flat, heat-proof surface, away from curtains and children, and never leave a burning candle unattended. The making itself is safe, because nothing is melted or hot.