Easy Air-Dry Clay Trinket Dish with Pressed Flowers
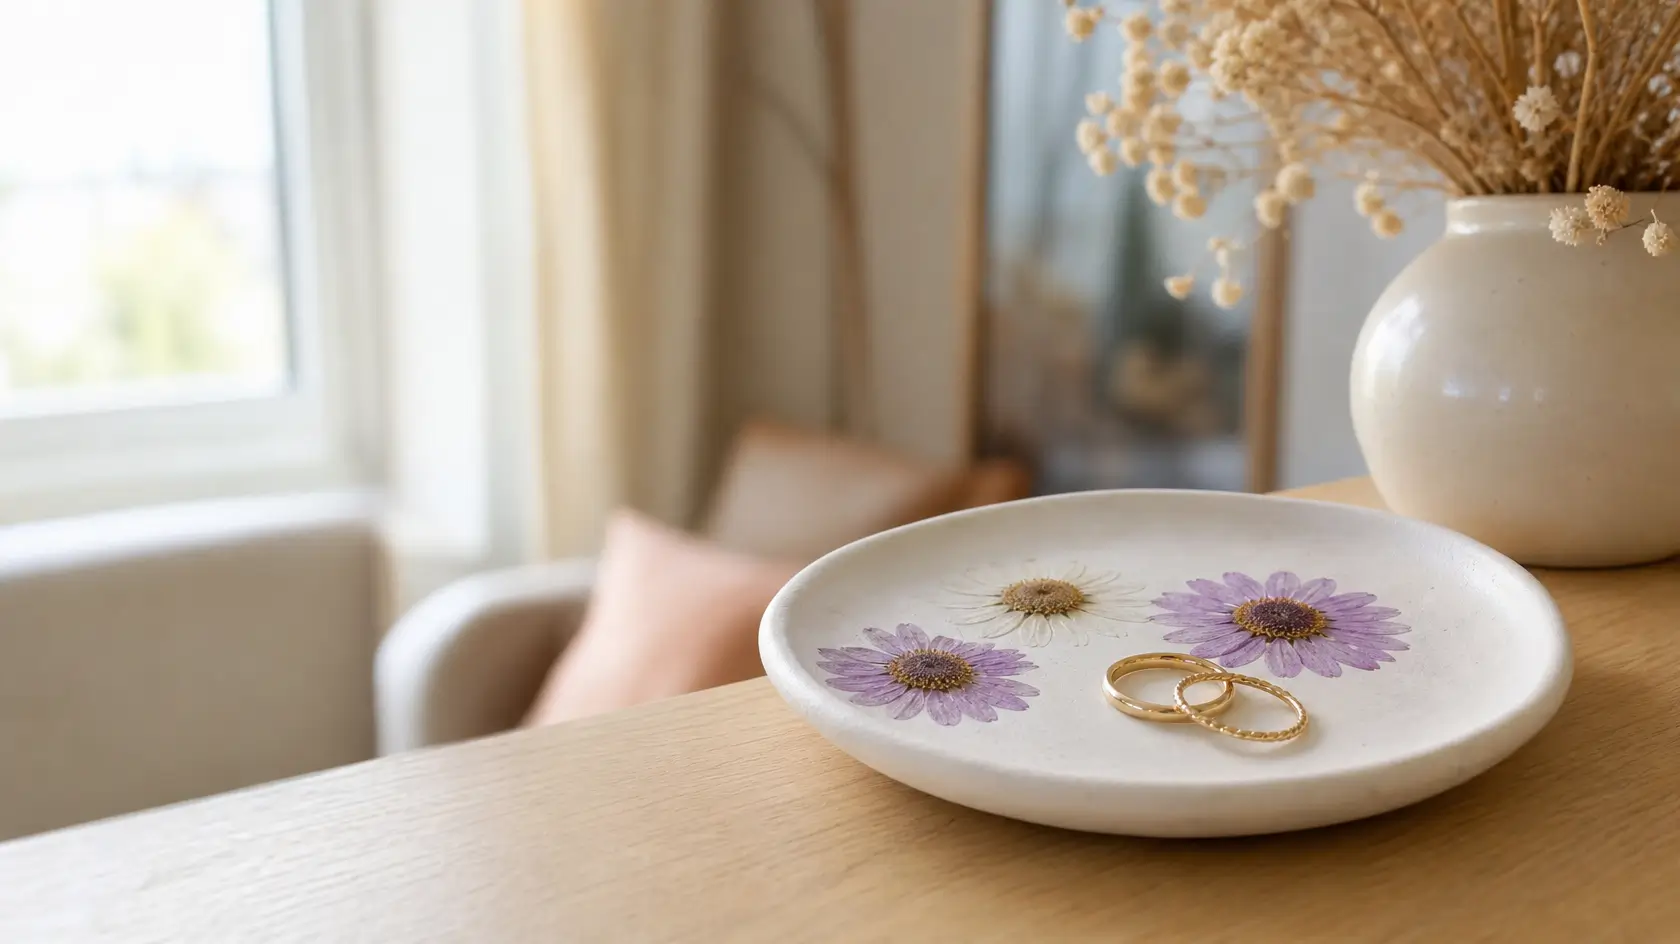
An air-dry clay trinket dish with pressed flowers is made by rolling out air-dry clay, shaping it into a small shallow dish, pressing dried flowers into the surface, and letting it dry completely in the open air. It takes about 20 minutes of hands-on work, plus the drying time printed on your clay pack, and needs no kiln, no oven, and no mould — a small bowl as a shape guide is enough. The result is a pretty little dish for rings, earrings, and keys, with real flowers sealed into the clay.
This is the clay project to start with. It uses one technique only — roll, shape, press — and the flowers do the decorating for you, so it looks delicate even on a first try. Make one in an evening, let it dry overnight, and it is ready to give or to keep by the front door.
| Skill level | Beginner — no clay experience needed |
| Active time | About 20 minutes |
| Drying time | Until completely dry — follow the time on your clay pack |
| Dishes per batch | 1 trinket dish |
| Cost | A few dollars per dish, plus one pack of air-dry clay |
| Difficulty | Easy |
Important: air-dry clay is decorative only. It is not waterproof and not food-safe, even when sealed, so never use this dish for food, drink, or anything wet. It holds rings, earrings, keys, and other small dry objects — nothing else. Handle the finished dish gently: it is clay, not ceramic, and it will break if dropped.
What You Will Need
- 1 pack of air-dry clay, white or natural — enough for one small dish
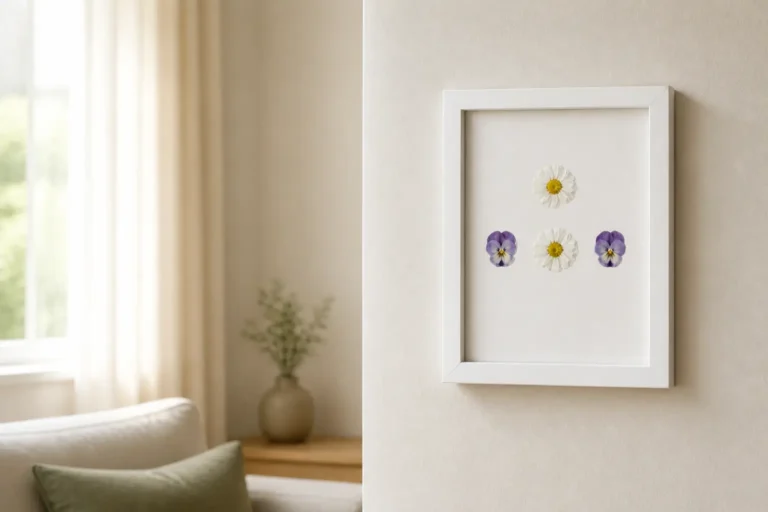
- A few pressed, dried flowers — small and flat, such as daisies or violas, fully dry before you start
- A rolling pin
- A small bowl, about 4 inches across, to shape the dish over
- A craft knife or a butter knife
- A small cup of water, for smoothing edges
- A soft brush and a small pot of clear, water-based sealant — the type your clay pack recommends, adult use only
- A dark green fabric cloth as your work surface
Step 1: Gather Your Materials and Knead the Clay
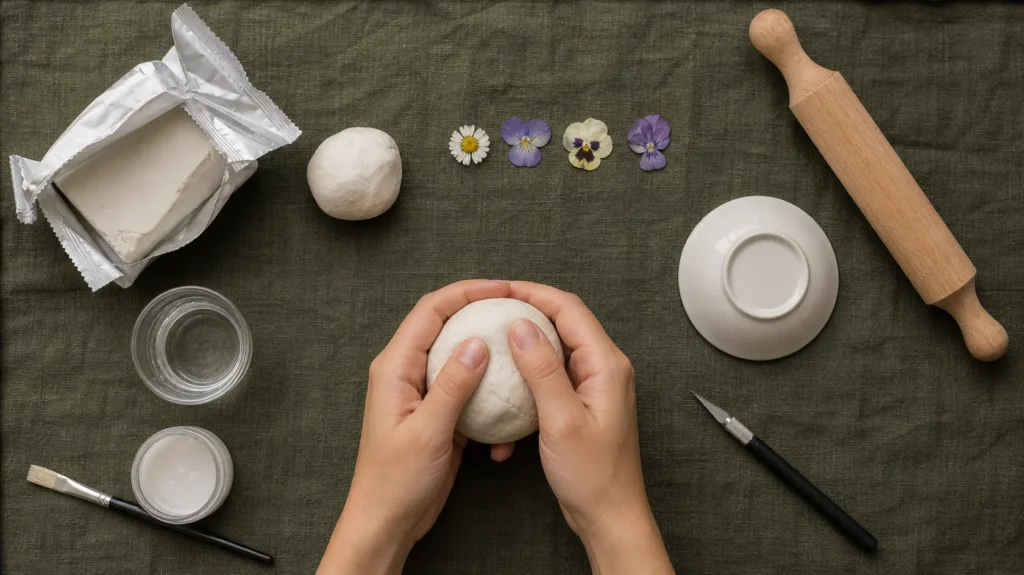
Lay everything out on the cloth before you start. Put the clay in the middle, the pressed flowers beside it in a neat row, and the rolling pin, small bowl, knife, cup of water, and sealant to one side. Take a piece of clay about the size of a small orange, knead it in your hands until it is soft and smooth, and roll it into a ball.
Knead until there are no cracks on the surface of the ball. Clay that is not kneaded properly cracks at the edges when you roll it out.
Step 2: Roll the Clay Out Flat
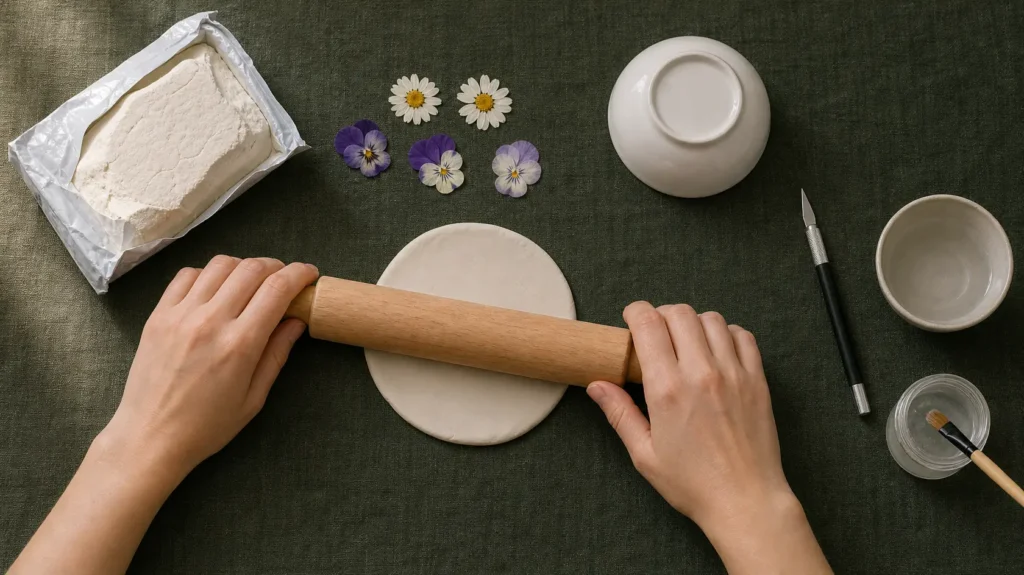
Put the ball on the cloth and roll it out with the rolling pin, turning it a quarter turn after each roll, until it is a flat round about the thickness of a coin. Lift the clay and turn it over once while you roll, so it does not stick to the cloth.
If the edges crack while you roll, dip a fingertip in the water and smooth the crack with a wet finger, then roll again. Do not add more water than a fingertip — wet clay goes sticky and will not hold its shape.
Step 3: Shape the Dish Over the Bowl
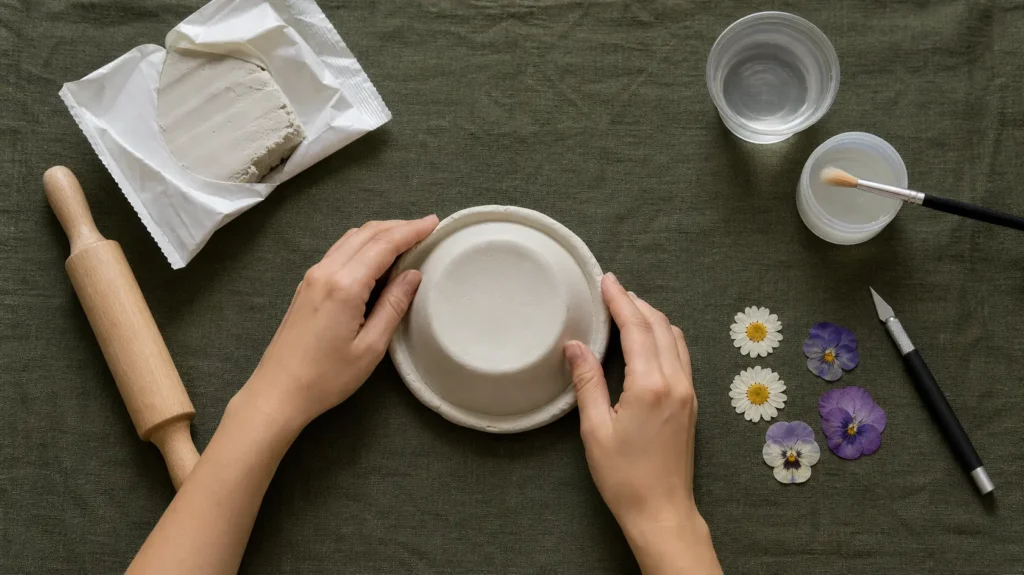
Turn the small bowl upside down on the cloth and lay the clay round gently over it, pressing it down around the sides with your palms until it takes the shape of a shallow dish. Trim the edge with the craft knife, following the rim of the bowl, and smooth the cut edge with a wet fingertip.
Lift the dish off the bowl carefully, turn it the right way up, and set it on the cloth. It should sit flat and hold its shape on its own. If it slumps, the clay is too thin — roll the next piece a little thicker.
Step 4: Press the Flowers into the Clay
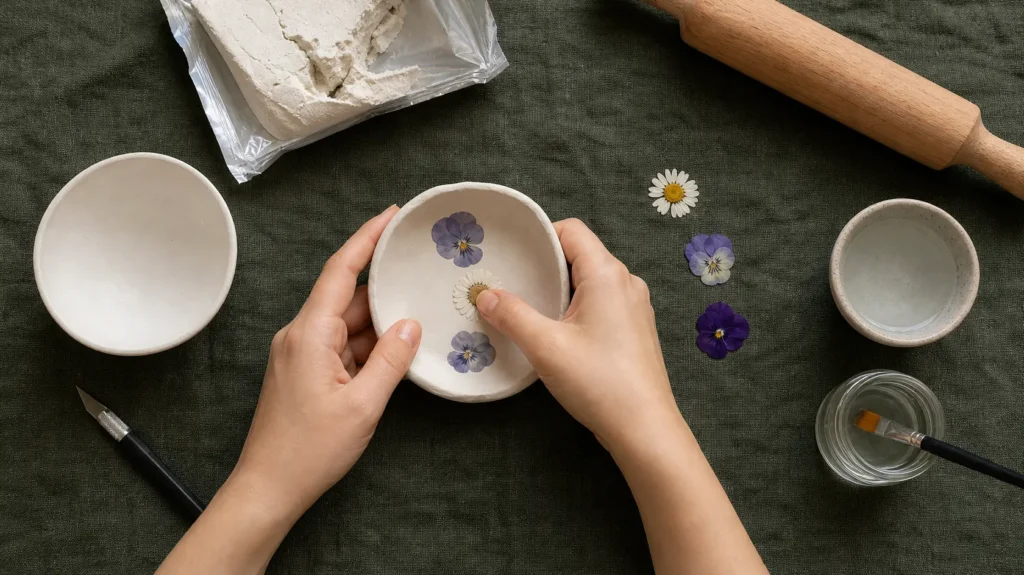
While the clay is still soft, lay the pressed flowers on the inside of the dish, one by one, in a simple pattern — one in the centre, or three in a row. Press each flower gently into the clay with the flat of your thumb, just enough that the petals sit in the surface, not so hard that the flower tears.
Work from the centre outward, and leave a little space between the flowers. A dish with three flowers placed with space between them looks better than a dish crowded with ten.
Step 5: Let It Dry, Then Seal It and Put It on Display
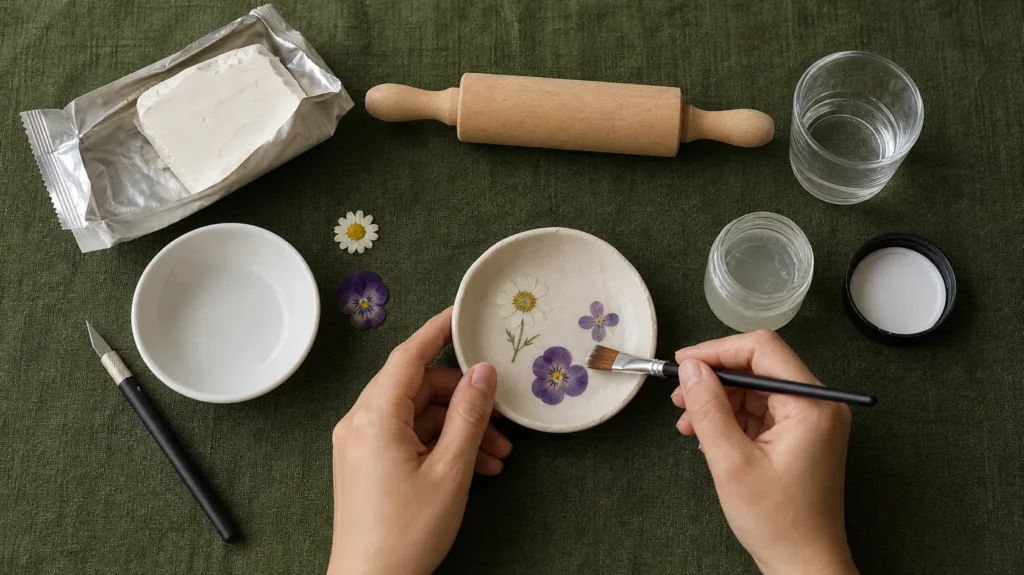
Leave the dish to dry completely in the open air, on the cloth, in a dry room — do not put it in the oven, and do not dry it with a hairdryer, or it will crack. Follow the drying time on your clay pack, and do not touch the dish until the whole surface feels dry and cool, including the base.
Once it is fully dry, brush a thin layer of clear sealant over the inside of the dish, following the instructions on the sealant pot, and let that dry too. Then put the dish on a shelf or a bedside table, and use it for rings, earrings, and keys — dry objects only, never food or anything wet.
Tips
- Use flowers that are fully pressed and dry before you start. A fresh flower will go brown in the clay; a pressed, dry one keeps its colour.
- Keep the clay in its sealed bag between steps. Air-dry clay starts drying the moment it meets the air, and a piece left out for ten minutes is already too stiff to roll.
- If the dish cracks while it dries, the clay was too thin or the room was too warm. A small crack can be filled with a little fresh clay and smoothed with a wet finger before it dries again — but only while the dish is still slightly damp.
- Make one dish first, not three. The first dish teaches you how thick to roll and how hard to press; the second one will already be better.
Variations
- Plain rim dish: skip the flowers and press a simple pattern around the rim with the tip of the pencil instead — dots, or a wavy line. It suits a plainer room.
- Coloured dish: paint the outside of the dried dish with one coat of acrylic paint, leaving the inside with its flowers untouched. Sage green or soft terracotta both suit pressed flowers.
- Gift set: make one dish and pair it with the rolled beeswax candles from the Candles & Wax article — a dish and a pair of tapers, in a small gift box, is a complete handmade gift.
Frequently Asked Questions
Do I need a kiln or an oven for air-dry clay?
No. Air-dry clay hardens in the open air, with no kiln and no oven. Never put it in the oven — it will crack.
Is an air-dry clay dish food-safe?
No. Air-dry clay is decorative only — it is not waterproof and not food-safe, even when sealed. Use this dish for rings, earrings, keys, and other small dry objects, never for food or drink.
How long does air-dry clay take to dry?
Follow the time printed on your clay pack — it depends on the brand and on how thick your dish is. A dish this size is usually dry after a day or so in a dry room, but do not seal or use it until the whole surface, including the base, feels dry and cool.
Why did my clay crack while it dried?
The most common reasons are clay rolled too thin, or drying too fast in a warm room. Roll the next piece a little thicker, and let it dry in a cool, dry room, away from radiators and direct sun.
Can I use fresh flowers instead of pressed ones?
No. Fresh flowers hold water, and that water goes brown inside the clay as the flower dries. Use flowers that have been pressed and fully dried first — a week pressed flat in a book is enough for a small daisy.