
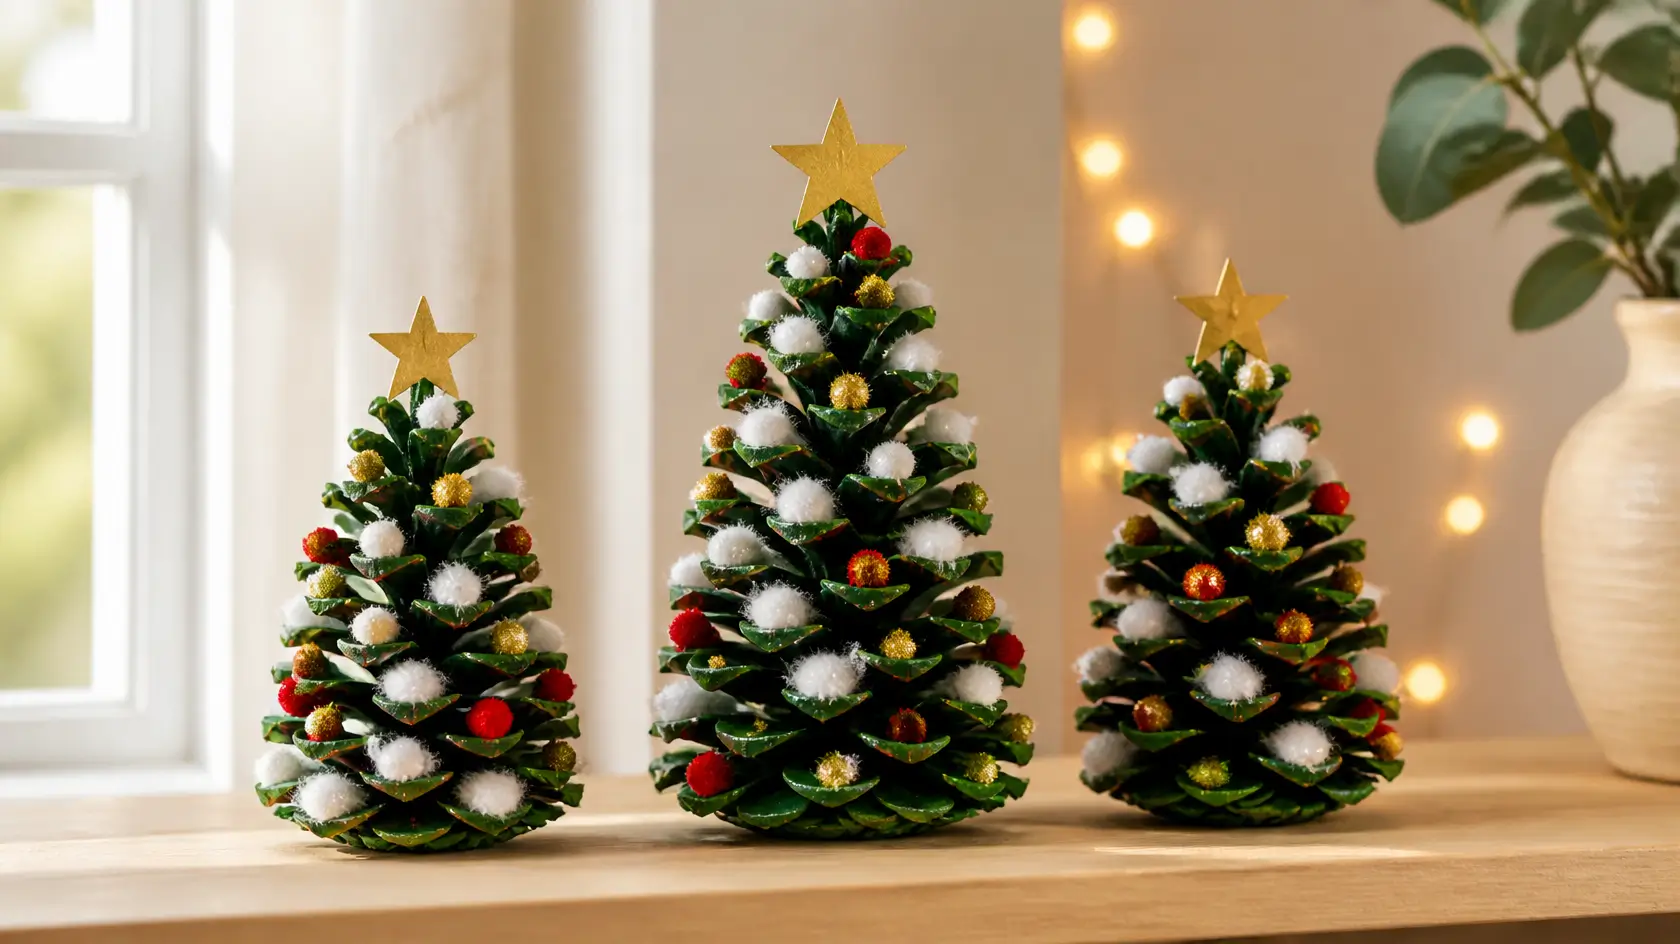
Pinecone Christmas Trees for Kids
A pinecone Christmas tree is a real pinecone painted green, decorated with small pom-poms and buttons, and finished with a gold paper star on top. It takes about 30 minutes, plus drying time, and it works best for ages 4 to 7. You need 3 pinecones, green paint, a brush, and a glue stick — and a child can make 3 little trees in one sitting, one for each shelf in the house.
These are the Christmas decorations children actually keep. They stand up on their own, they look like real little trees, and they cost almost nothing, because the pinecones come from outside. Make them in the first week of December and they are ready for the shelf well before Christmas.
| Ages | 4 to 7 |
| Time | About 30 minutes, plus 30 minutes drying |
| Difficulty | Easy |
| Trees per sitting | 3 |
| Cost | Under $2 |
Safety first: an adult should check every pinecone first — shake out dirt and insects, and leave the pinecones to dry overnight if they are damp. Small pom-poms are a choking hazard, so they are for ages 5 and up only; for a 4-year-old, use large pom-poms or buttons instead. The child does the painting and decorating. An adult should do the hot glue, if you use it — a glue stick is safer and works fine.
What You Will Need
- 3 pinecones, about 4 inches tall, dry and clean
- Green paint, in two shades if you have them — dark green and light green
- 1 paintbrush, medium size, and 1 small sponge
- Small pom-poms in red, gold, and white — large ones for ages 4 and under
- 3 small gold paper stars, cut from gold card
- A glue stick
- Cotton balls, pulled apart, for snow
- A tray to catch the paint drips
- A dark green fabric cloth as your work surface
- An apron or an old t-shirt
Step 1: Gather Your Materials
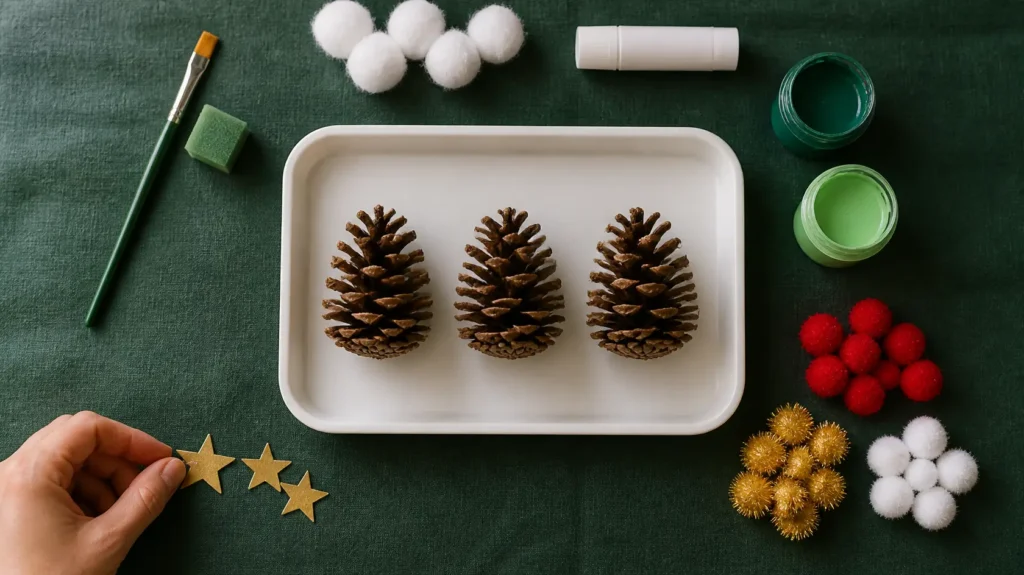
Lay everything out on the cloth before you start. Put the tray in the middle, the 3 pinecones in a row inside it, the green paint pots and the brush beside them, and the pom-poms, gold stars, and cotton balls in small piles to one side. Put the apron on the child now, before the paint comes out.
Do this first and the child never has to wait for you in the middle of the craft. Waiting is when the brush gets waved around and the paint gets everywhere.
Step 2: Clean the Pinecones and Stand Them Up
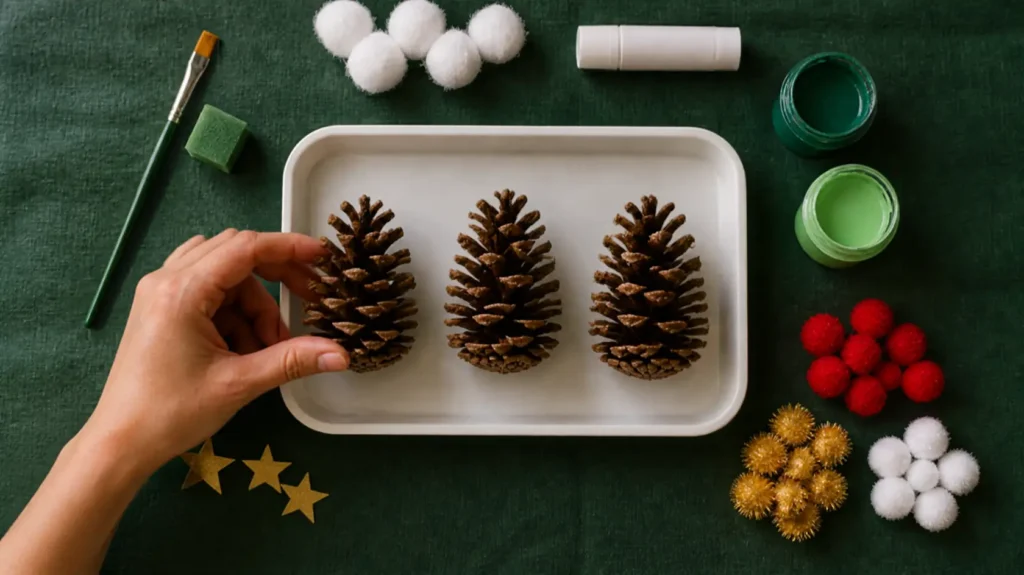
Take the first pinecone and shake it gently over the tray, so any dirt or loose seeds fall out. Then stand it upright on its flat bottom, wide end down and point at the top, like a little tree. Do the same with the other two, in a row.
If a pinecone will not stand up, turn it around and try the other end, or press a small ball of modelling clay under it as a base. A tree that falls over in Step 3 is a tree covered in green paint on the table.
Step 3: Paint the Pinecones Green
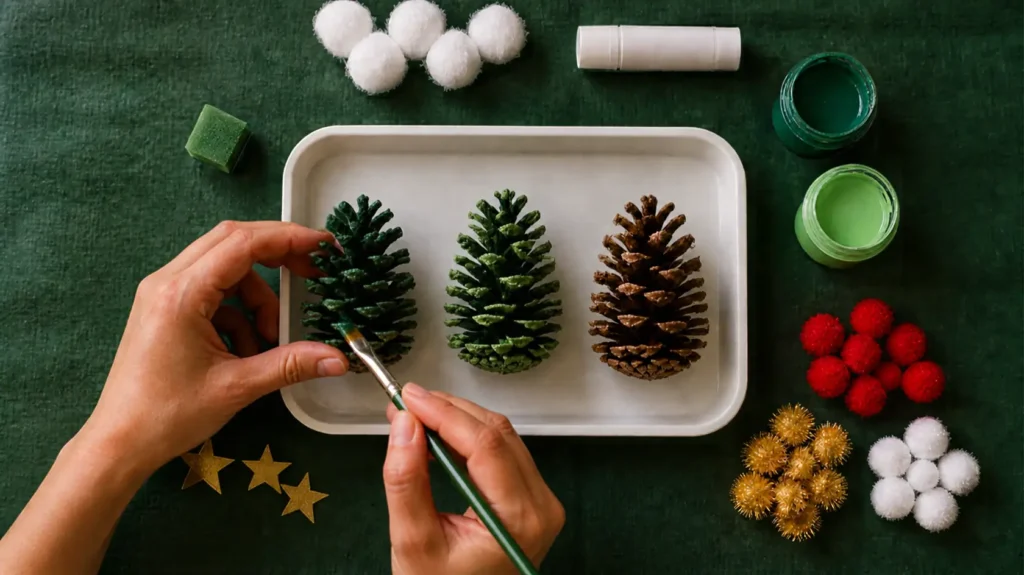
Paint the first pinecone dark green, all the way around, working from the top down so the paint does not drip onto your hand. Then dab the tips of the scales with light green paint, using the sponge, so the tree looks like it has light on it. Do the same with the other two pinecones.
Leave the painted pinecones on the tray for 30 minutes to dry. Do not touch them while they are wet — a fingerprint in wet paint is the one thing that makes these trees look wrong.
Step 4: Decorate with Pom-Poms and Snow
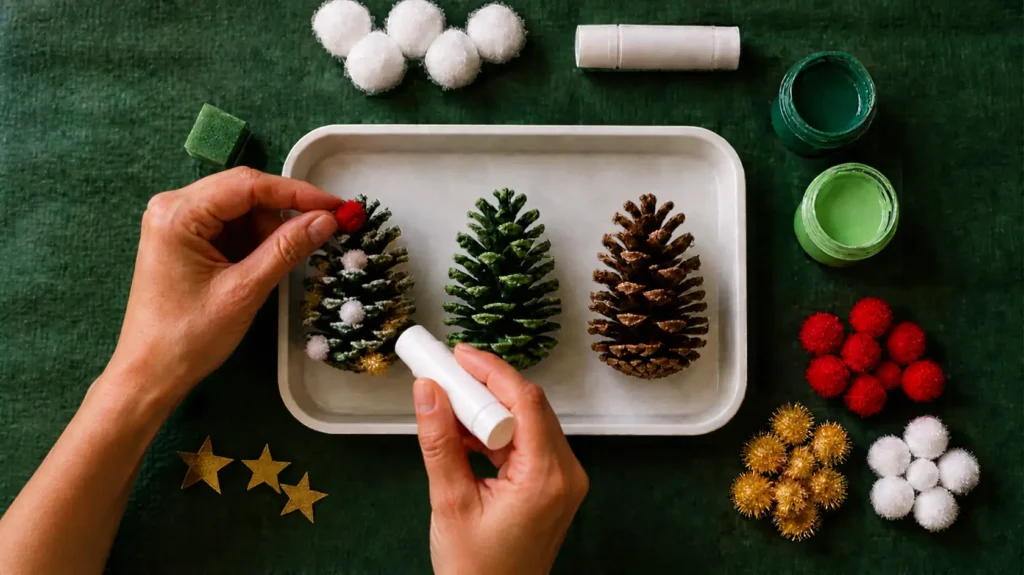
When the paint is dry, glue a pom-pom onto the tip of every second or third scale, all the way around the pinecone, like little baubles on a tree. Use red, gold, and white, one colour at a time, so the child can count them as they go. Then pull a cotton ball apart and tuck small pieces of it between the scales, like snow sitting on the branches.
Work slowly here. If a pom-pom falls off, put a little more glue on it and press it for ten seconds. A tree with three pom-poms looks bare; a tree with ten looks like Christmas.
Step 5: Add the Star and Put the Trees on Display
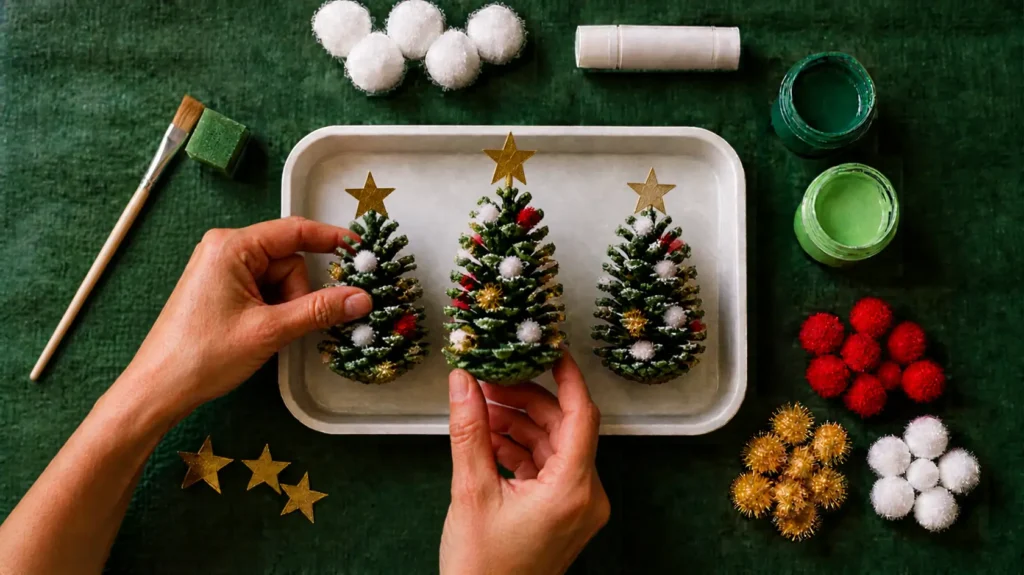
Glue a gold paper star to the very top of each pinecone, point up, and press it for ten seconds until it holds. Then stand the three trees in a row on a shelf or a windowsill, tallest in the middle, and step back. The dark green paint, the red and gold pom-poms, and the white cotton snow make a little forest, and that is the moment to take the photo.
Leave the trees on the shelf. They will last all through December, and the child will point at them every time someone visits.
Tips
- Collect pinecones in autumn and keep them in a paper bag, not a plastic bag, so they stay dry. A damp pinecone closes up and will not open again until it dries.
- Use two greens, not one. A pinecone painted in one flat green looks like a painted pinecone. A pinecone with dark green underneath and light green on the tips looks like a tree.
- If you cannot find pinecones, a small branch cut into a triangle shape works the same way, but it will not stand up on its own — press it into a small pot of modelling clay.
- Make the trees in a batch of three. The first one teaches the child how much paint to use, the second one is the neat one, and the third one is the one they give to grandma.
Variations
- Snowy trees: skip the pom-poms and use only white cotton and silver buttons. They look like trees after snowfall.
- Mini forest: make 5 small pinecones instead of 3 big ones, and put them all on one tray with cotton snow underneath, like a little winter village.
- No paint? Wrap the pinecone in green tissue paper instead, and glue the pom-poms on top of the paper. It is faster, but it tears more easily, so an adult should do the wrapping.
Frequently Asked Questions
Where can I find pinecones for this craft?
Under pine trees in parks and gardens in autumn. Shake each one before you take it home, and leave them in a paper bag overnight so any insects leave and the pinecones dry out.
How long do pinecone Christmas trees take to dry?
About 30 minutes after painting, if they are left on a tray in a warm room. Do not decorate them while the paint is still wet, or the pom-poms will slide off.
Can a 3-year-old make a pinecone Christmas tree?
Yes, with help. A 3-year-old can paint the pinecone and stick on large pom-poms. An adult should check the pinecone first and cut the gold stars.
What can I use instead of pom-poms?
Small buttons, beads for ages 5 and up, or tiny balls of coloured tissue paper. Buttons are the safest choice for a 4-year-old, because they are flat and easy to glue.
How long will the trees last?
All through December, if they are kept indoors on a shelf. The paint and glue hold well, and a pinecone does not go soft like paper does.