How to Make a Cardboard Christmas Tree for Kids (From Things at Home)
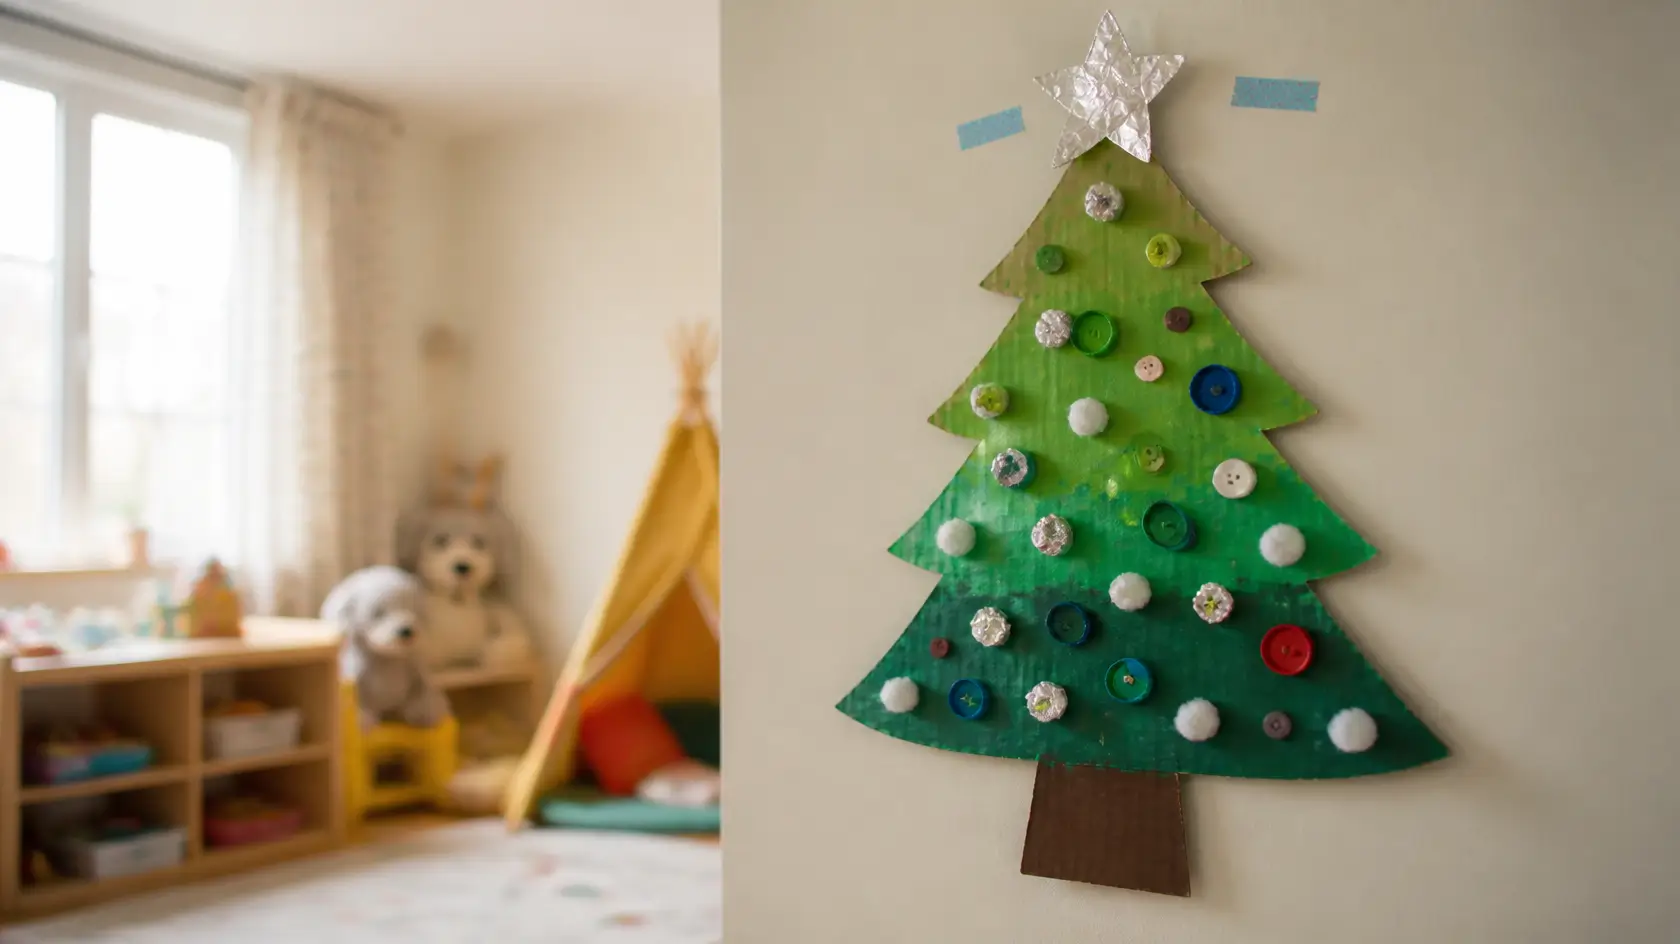
You do not need to buy anything for this one. The tree comes from a delivery box, the ornaments come from bottle caps and buttons, and the star comes from a piece of foil. The child paints it, decorates it, and then it goes up on the wall or the fridge.
It takes about 30 minutes, plus drying time. It works best for ages 4 to 7. An adult does the cutting — cardboard is too tough for small hands — and the child does the painting and the decorating.
What You Will Need
- 1 large piece of cardboard, from a delivery box
- Scissors — strong ones, for the adult to use
- A pencil
- Green washable paint, dark green and light green if you have both
- Brown paint or a brown crayon, for the trunk
- A paintbrush and a small sponge
- A paper plate to use as a paint palette
- Glue
- Things from home for ornaments: bottle caps, buttons, cotton balls, small pieces of foil, pom-poms
- A piece of foil or yellow cardboard, for the star
- Tape or magnets, to hang the finished tree
- An apron or an old t-shirt
- A dark green fabric cloth as your work surface
Step 1: Gather Your Materials
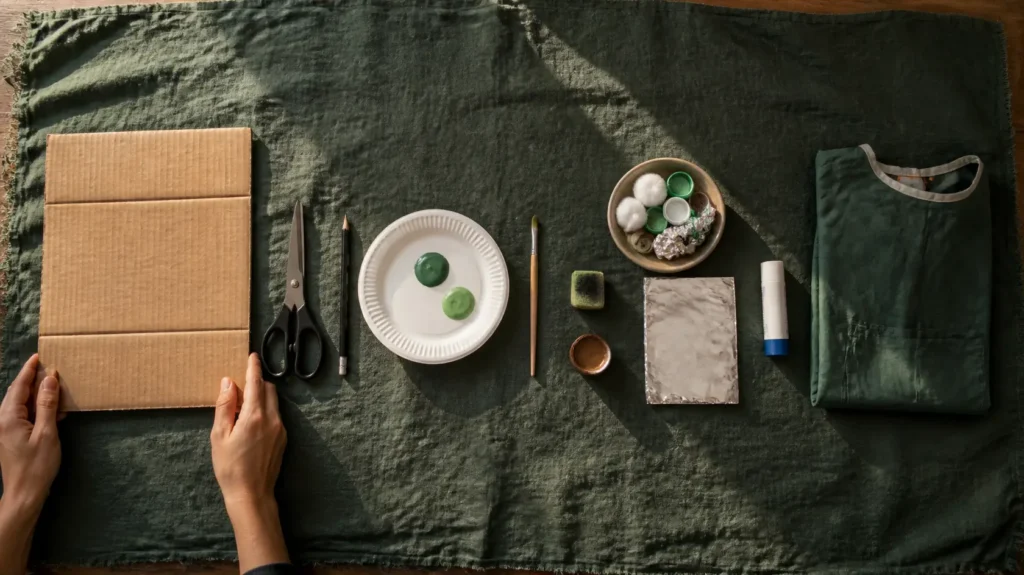
Lay everything out on the cloth before you start. Put the cardboard flat in the middle, the paints on the paper plate, and the bottle caps, buttons and cotton balls in a small bowl so the child can see them all and choose.
Put the apron on the child now, not after the paint is open. Keep the scissors with the adult — they are not part of the child’s job here.
Step 2: Cut the Tree Shape
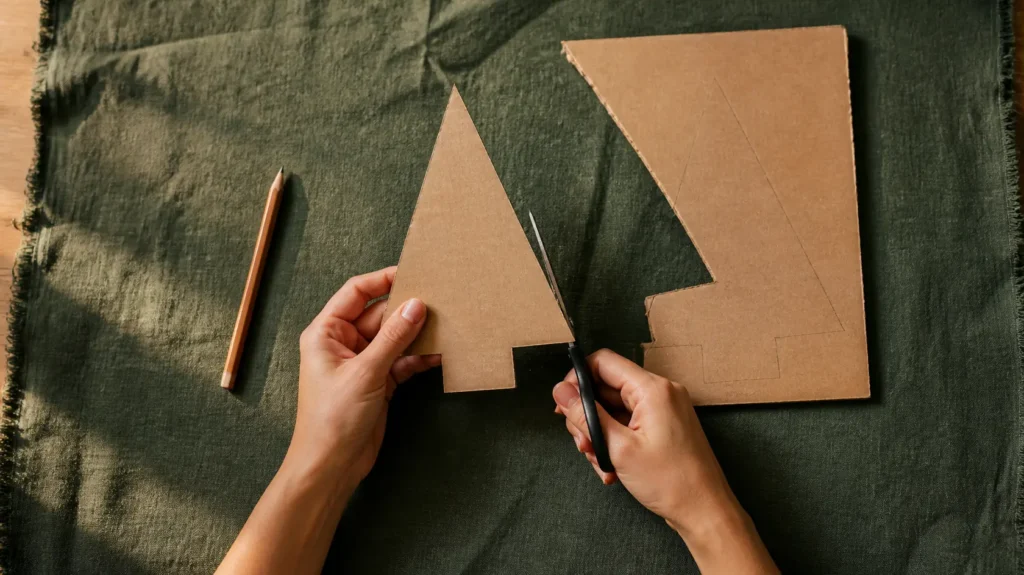
This step is for the adult. Draw a simple pine tree on the cardboard with the pencil: a tall triangle shape with a short rectangle at the bottom for the trunk. Make it about as tall as a school ruler.
Cut along the pencil lines. If the cardboard is thick, cut slowly and keep your fingers well away from the blades. Smooth any rough edges by running a finger along them — do not let the child do this part.
Step 3: Paint It Green
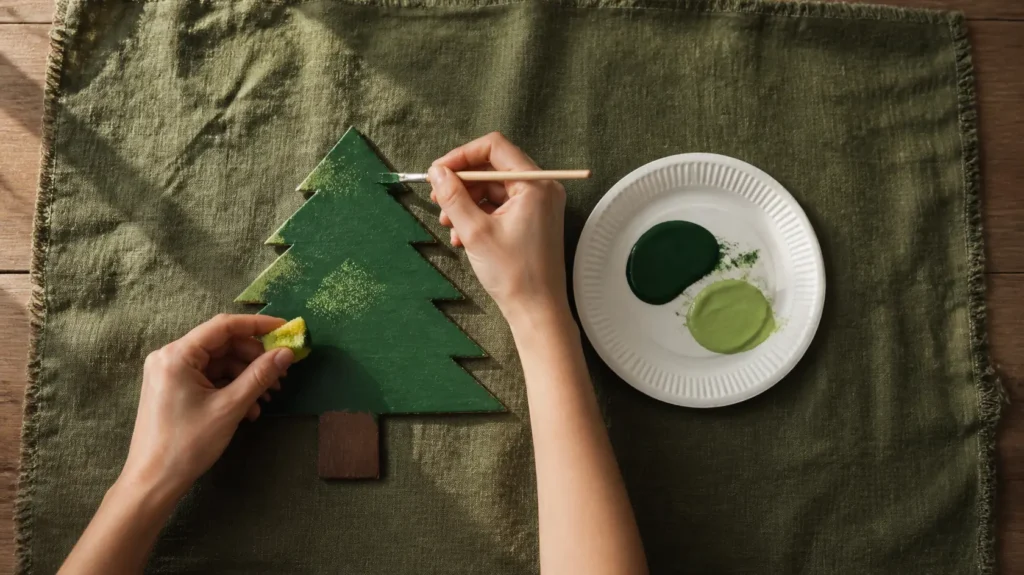
Now it is the child’s turn. Paint the whole tree shape green with the paintbrush. Start at the top and work down, so the paint does not drip over the parts already painted.
Use the sponge to dab on the light green paint in a few spots, so the tree has two shades and does not look flat. Paint the trunk brown, or colour it in with the brown crayon.
Leave the tree flat to dry for about 15 minutes before the next step, or the ornaments will slide off.
Step 4: Decorate With Things From Home
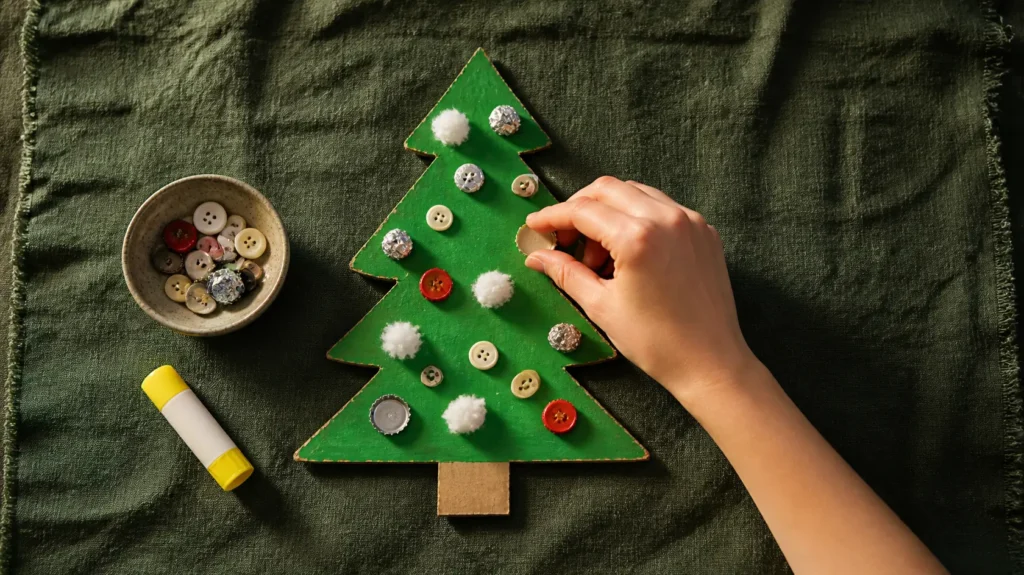
Put a small dot of glue where each ornament goes, then press it on and hold it for a few seconds.
Bottle caps make good big ornaments. Buttons make small shiny ones. Cotton balls make snow — stick a few along the branch edges. A crumpled piece of foil makes a bright star, or a shiny ball.
Let the child decide where each one goes. Three or four ornaments on each row of the tree is enough — if every space is filled, the green paint disappears.
Step 5: Add the Star and Hang It Up
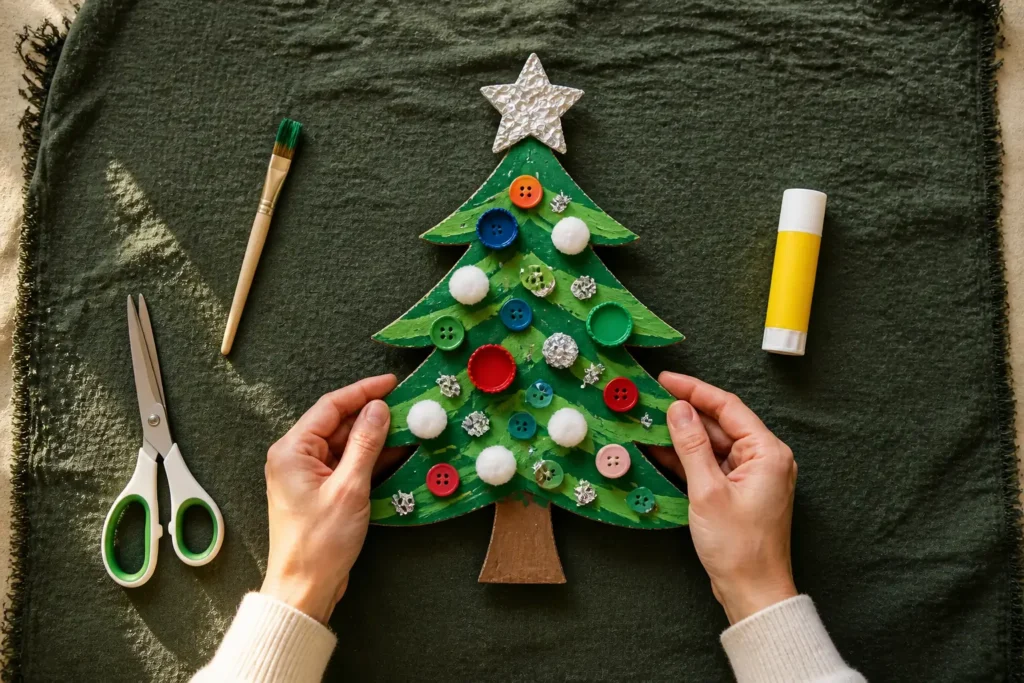
Cut a star from the foil or the yellow cardboard and glue it to the top of the tree. Press it down for a few seconds until it holds.
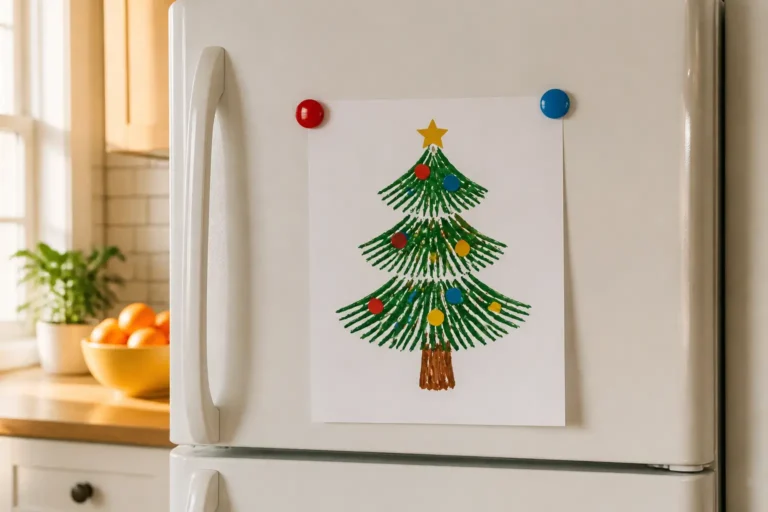
Leave the tree flat for about 30 minutes until the glue is fully dry. Then tape it to the wall or the fridge with tape, or hold it up with two magnets. That is where it belongs — where everyone in the house can see it.
Tips
- Thin cardboard from a cereal box is easier to cut than thick delivery-box cardboard, but it bends more. Thick cardboard holds its shape better.
- If the paintbrush leaves streaks, the sponge fixes them — dab, do not rub.
- Washable paint is worth it here. It washes off hands and clothes with soap and water.
- Glue the heavy things, like bottle caps, first and let them set before you add the light ones.
Variations
- Snowy tree: when the green paint is dry, glue cotton balls along the branch edges instead of painting snow.
- Mini trees: cut two or three small trees from one box and make one for the fridge, one for a bedroom door, and one as a gift.
- Garland: make three small cardboard trees, punch a hole at the top of each, and thread them on a string.
FAQ
What age is this craft for?
Ages 4 to 7. A 4-year-old can paint and decorate with help; a 7-year-old can do everything except the cutting.
Can I use a cereal box instead of a delivery box?
Yes. It is easier to cut, and one box makes one medium tree. Use the plain brown side as the front so the paint shows properly.
How long does it take to dry?
About 15 minutes for the paint and about 30 minutes for the glue. Leave it flat until it is fully dry.
What if I have no bottle caps or buttons?
Use what you have: foil balls, dried pasta shapes, small pieces of coloured paper, or fingertip dots of paint. The tree does not need shop-bought ornaments.