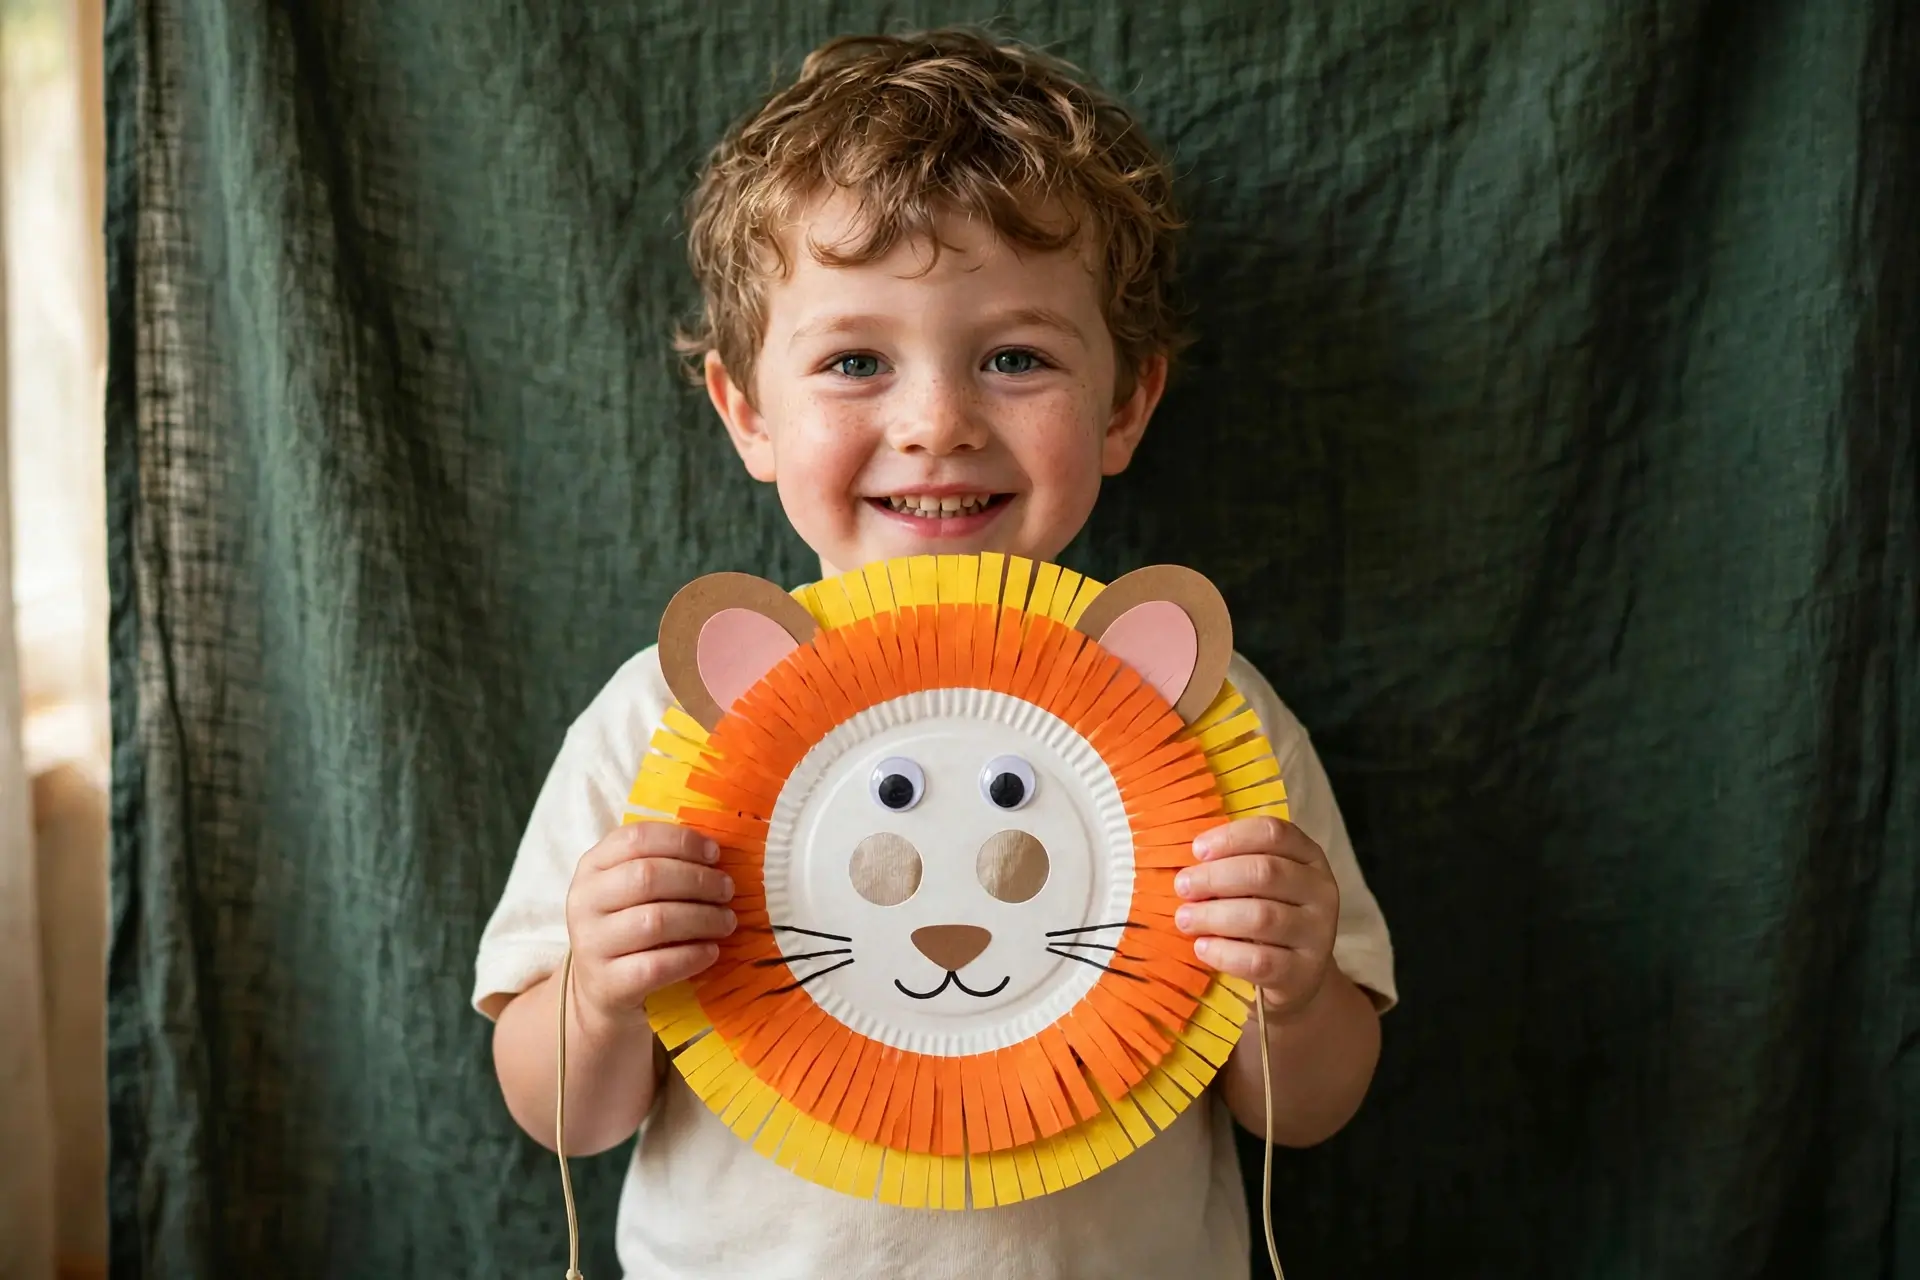
How to Make a Paper Plate Lion Mask (Easy Kids Craft)
Looking for a kids craft that is quick, cheerful, and actually fun to wear when it is finished? This paper plate lion mask takes about 20 minutes, uses supplies you probably already have at home, and makes a great afternoon project, classroom activity, or birthday party craft.
The mask is made from one white paper plate, orange and yellow construction paper for the mane, and a few simple extras. Kids can help with every step, and adults can handle the scissors for the eye holes.
What You Will Need
- 1 white paper plate
- Orange and yellow construction paper
- Pink scissors (or any scissors you have)
- Glue stick
- Black marker
- Googly eyes
- Elastic string
- A dark green fabric cloth as your work surface
Step 1: Gather Your Materials
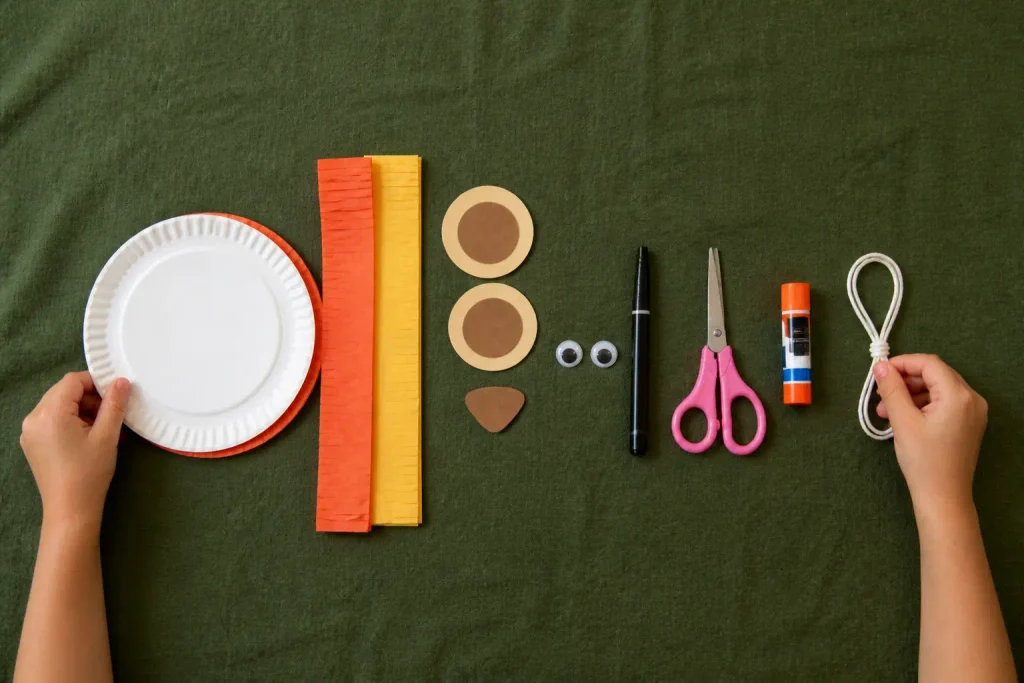
Lay everything out on the dark green fabric before you start: the paper plate, orange and yellow construction paper, pink scissors, glue stick, black marker, googly eyes, and elastic string. Put them in a neat row, one by one, so you can see them all. Having it all in front of you means no stopping halfway through to hunt for the glue.
Step 2: Cut the Lion’s Mane and the Eye Holes
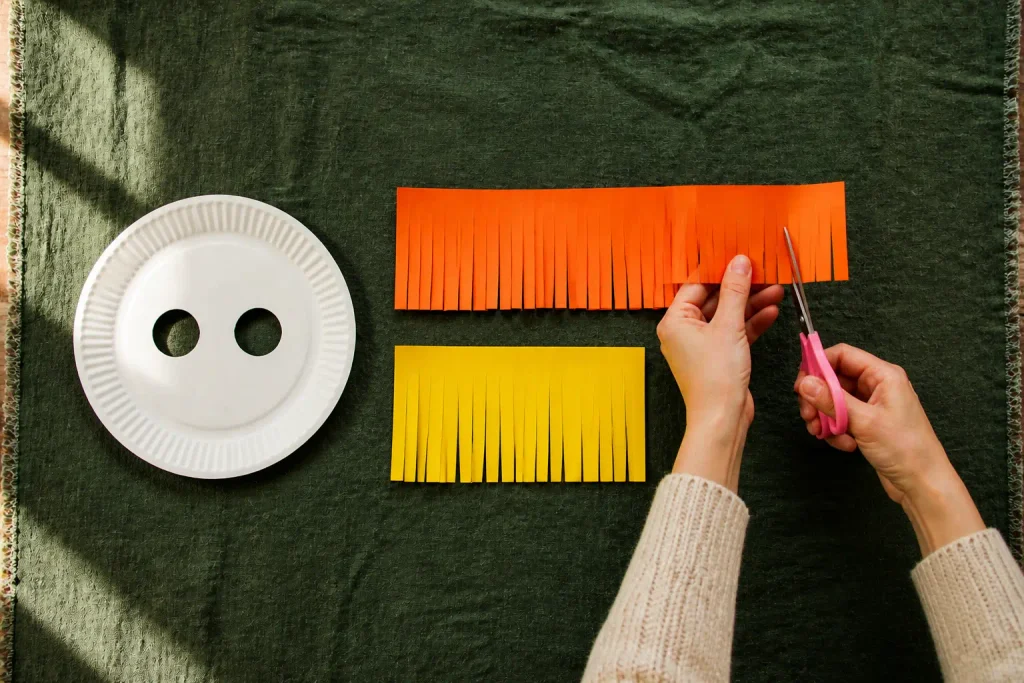
Cut long fringe strips from the orange and yellow construction paper — these will become the lion’s mane. Cut the orange strips first, then the yellow ones, and pile them neatly beside the plate.
Then cut two eye holes in the white paper plate. An adult should do the eye holes, or start them with the tip of the scissors so a child can finish cutting safely. Hold the plate up to the child’s face and check the holes line up with their eyes before moving on.
Step 3: Glue the Mane Around the Plate
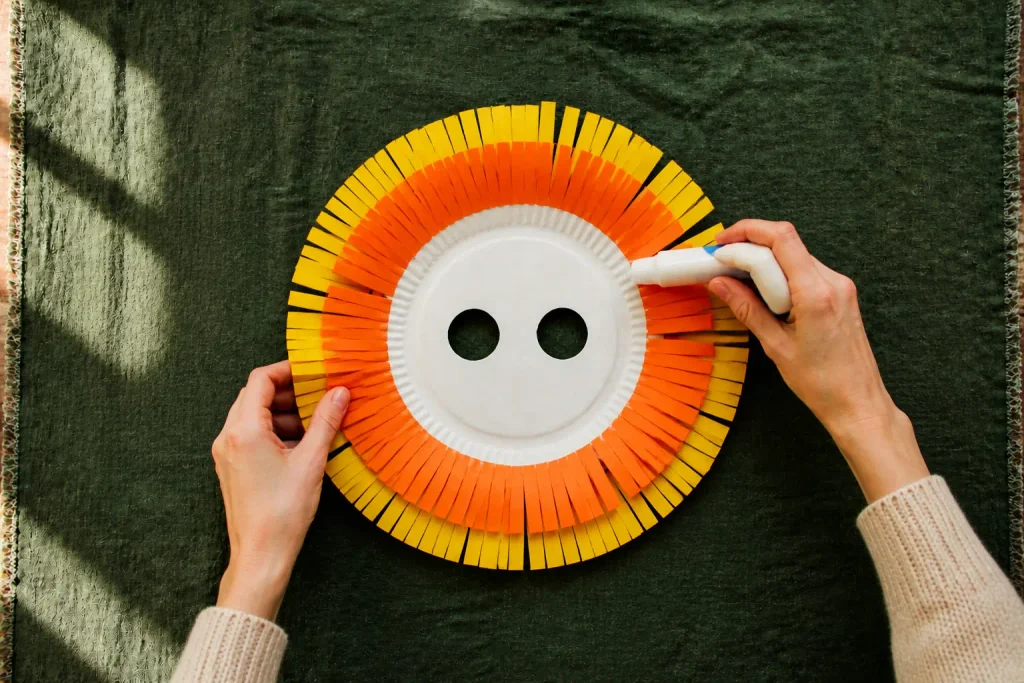
Glue the orange and yellow paper fringe strips around the edge of the paper plate to form a full, fluffy lion mane. Start with the glue: run the glue stick along the edge of the plate, then press the strips on one by one, orange then yellow, overlapping each strip slightly over the last. Mix the two colours as you go — the mix is what makes the mane look full and cheerful. Press each strip down firmly and let the glue set for a minute before turning the plate over.
Step 4: Add the Face — Ears, Nose, Eyes, and Whiskers
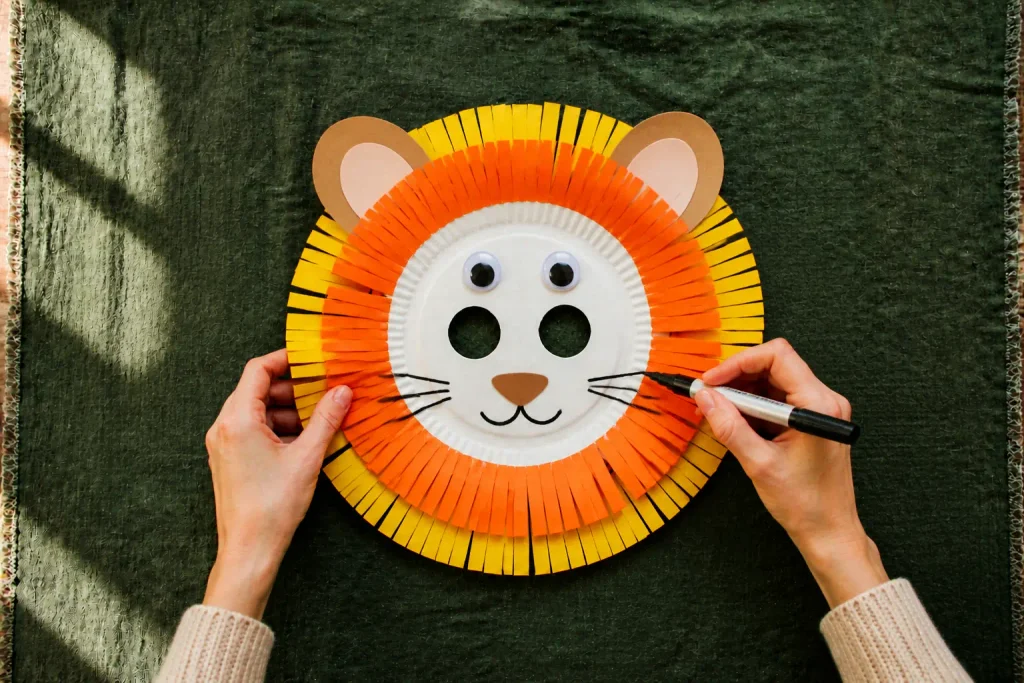
Now build the face, in order. First, attach two round tan paper ears to the top of the mask. Then glue a brown paper nose in the centre. Then press the googly eyes on above the nose, one at a time. Last, use the black marker to draw three whiskers on each cheek and a small smile below the nose.
This is the step where the lion gets its personality, so let kids decide: big eyes or small eyes, a friendly smile or a roaring mouth.
Step 5: Attach the String and Wear Your Lion Mask
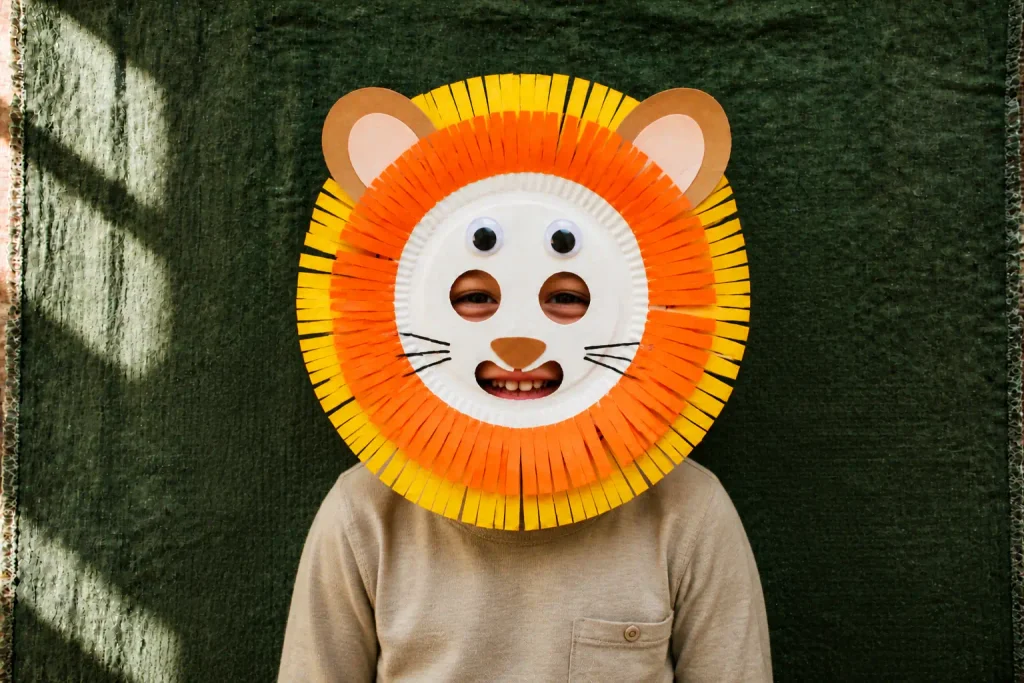
Attach the elastic string to both sides of the mask and try it on. Tie it behind the ears so it sits comfortably, trim any mane strips that hang over the eye holes, and your paper plate lion mask is ready to wear — for playtime, a school play, or a photo.
Tips for a Better Result
- Mix the mane colours. Alternate orange and yellow strips instead of gluing all of one colour first.
- Make the fringe long. Longer strips make a fuller mane; you can always trim it shorter at the end.
- Check the fit twice. Check the eye holes before gluing the mane, and again before attaching the string.
- Keep the leftovers. The orange paper scraps are perfect for a second mask or for decorating the lion’s ears.
Variations to Try Next
- A fox mask: same steps, orange paper only, pointed ears.
- A cat mask: same steps, grey or black paper, triangle ears.
- A party version: add gold paper strips to the mane for a birthday lion.
FAQ
How long does it take? About 20 minutes, plus a few minutes for the glue to dry.
Is it safe for young children? Yes, with an adult cutting the eye holes and helping with the scissors. Use child-safe glue and scissors for younger kids.
Can I use a coloured plate instead of white? Yes — a yellow or orange plate works well and saves painting, but a white plate shows the mane colours best.