

Free Printable Christmas Gift Tags for Kids (Print, Colour, Cut)
A printable Christmas gift tag is a small card you print at home, colour in, cut out, and tie onto a present. It takes about 20 minutes, it costs nothing but one sheet of paper, and it turns an ordinary wrapped gift into something a child made themselves.
| Quick facts | |
|---|---|
| Ages | 4–7 years |
| Time | About 20 minutes |
| Tags per sheet | 4 tags |
| Cost | One sheet of white A4 cardstock, about $0.10 |
| Best for | Christmas gifts, teacher gifts, stocking fillers |
What You Will Need
- 1 sheet of white A4 cardstock (ordinary printer paper works, cardstock is sturdier)
- A printer (black and white is fine — the child colours the tags in)
- Coloured pencils or crayons: red, green, gold, brown
- Child-safe scissors
- A hole punch (adult handles this)
- Ribbon, string, or twine — about 15 cm per tag
- A dark green fabric cloth as your work surface
Step 1: Print the Tags
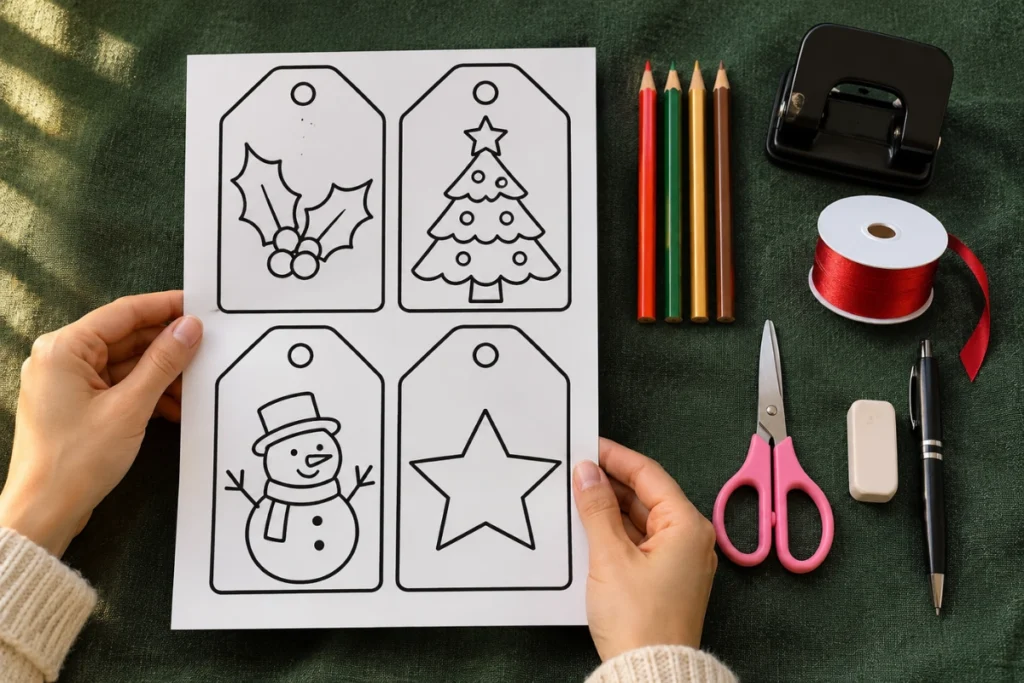
Print one sheet of gift tags on white A4 cardstock. Use your printer’s normal setting — no special paper needed. Let the ink dry for one minute before you touch the sheet, or the lines will smudge under small fingers.
Step 2: Colour the Tags In
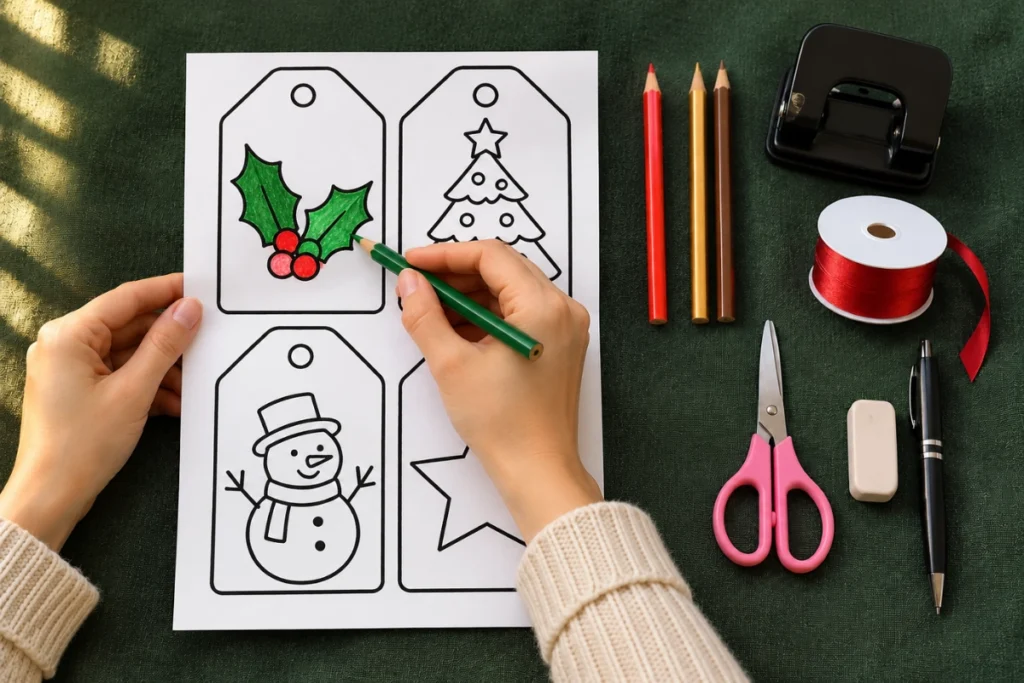
Colour each tag with coloured pencils or crayons. Red for the berries and the bow, green for the holly leaves and the Christmas tree, gold for the star, brown for the tree trunk. There is no wrong colour here — a purple Christmas tree is a perfectly good Christmas tree.
Step 3: Cut the Tags Out
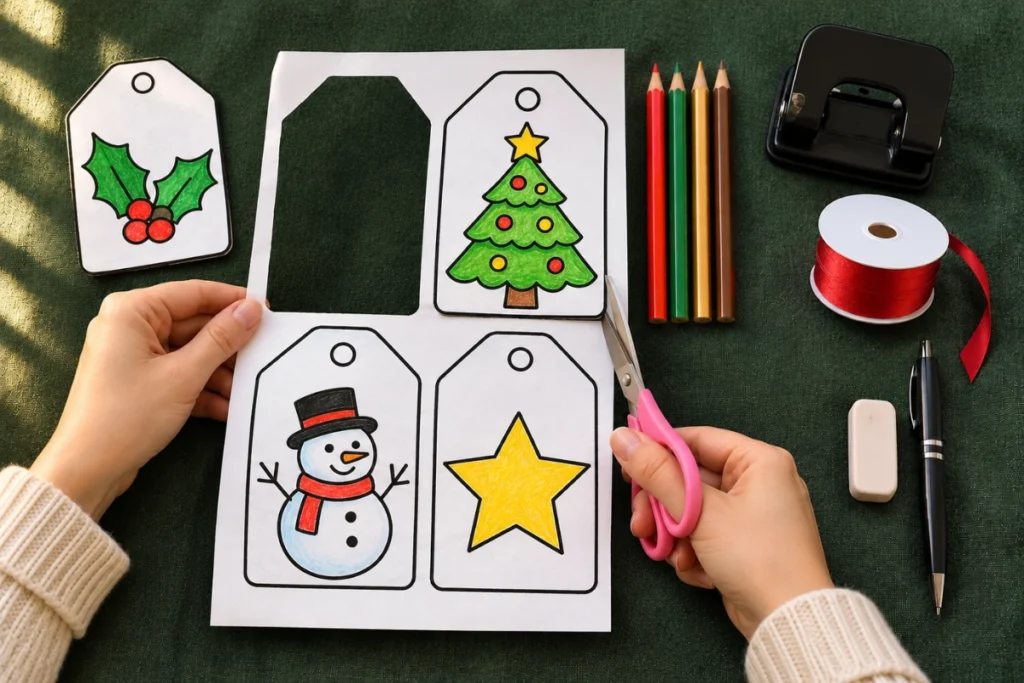
Cut along the thick black outline of each tag, slowly, one tag at a time. An adult can start the first cut for a 4-year-old; a 6 or 7-year-old can usually cut the whole tag alone. Keep the corners rounded — sharp corners bend and tear.
Step 4: Punch the Hole and Add the Ribbon
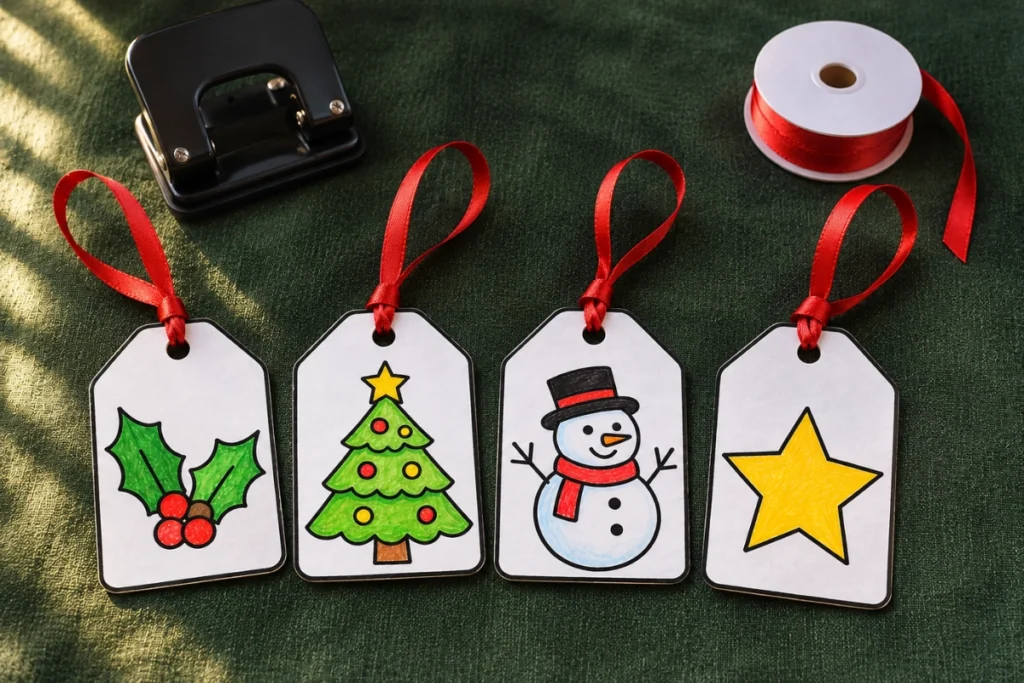
An adult punches one hole at the top of each tag with the hole punch. Thread about 15 cm of ribbon or twine through the hole and tie a small knot, leaving a loop big enough to slip over a gift.
Step 5: Write the Name and Tie the Tag On

Write the name on the back of the tag — “To Grandma, Love Sara” — in pencil or pen. Slip the ribbon loop around the gift and pull the tag through it, so the tag sits neatly on top of the wrapping.
Tips
- Print on cardstock, not thin paper: thin tags tear the first time a child pulls the ribbon.
- Colour first, cut second: it is much easier to colour a flat sheet than a small cut-out tag.
- If the printer is out of ink, print in black and white and let the child do all the colouring — that is the fun part anyway.
- Make a spare sheet: children always want to make one more tag for someone they forgot.
Variations
- Snowman tags: colour the snowman white with a red scarf, and add a real cotton ball for snow.
- Christmas tree tags: colour the tree green, add a gold star on top, and colour the trunk brown.
- Star tags: colour the star gold, and write the name in gold pen on the back.
FAQ
Are the gift tags really free?
Yes. You print them at home on one sheet of paper. The only cost is the paper and the ink, about 10 cents a sheet.
What age is this craft for?
Ages 4 to 7. A 4-year-old colours and writes with help; a 6 or 7-year-old can print, colour, cut, and tie the whole tag alone, except the hole punch, which is always an adult’s job.
Can I use ordinary printer paper instead of cardstock?
You can, but the tags will be floppy and tear easily. Cardstock costs the same per sheet and makes a tag that survives being carried, posted, and opened.
Do I need a colour printer?
No. Print in black and white and let the child colour everything in — the tags are designed to be coloured.
Can I use these tags for gifts that are not for Christmas?
Yes. Colour the holly and berries in any colours you like, or use the star tag, and it works for a birthday gift too.