How to Draw a Cute Lion Face for Kids (Step by Step)
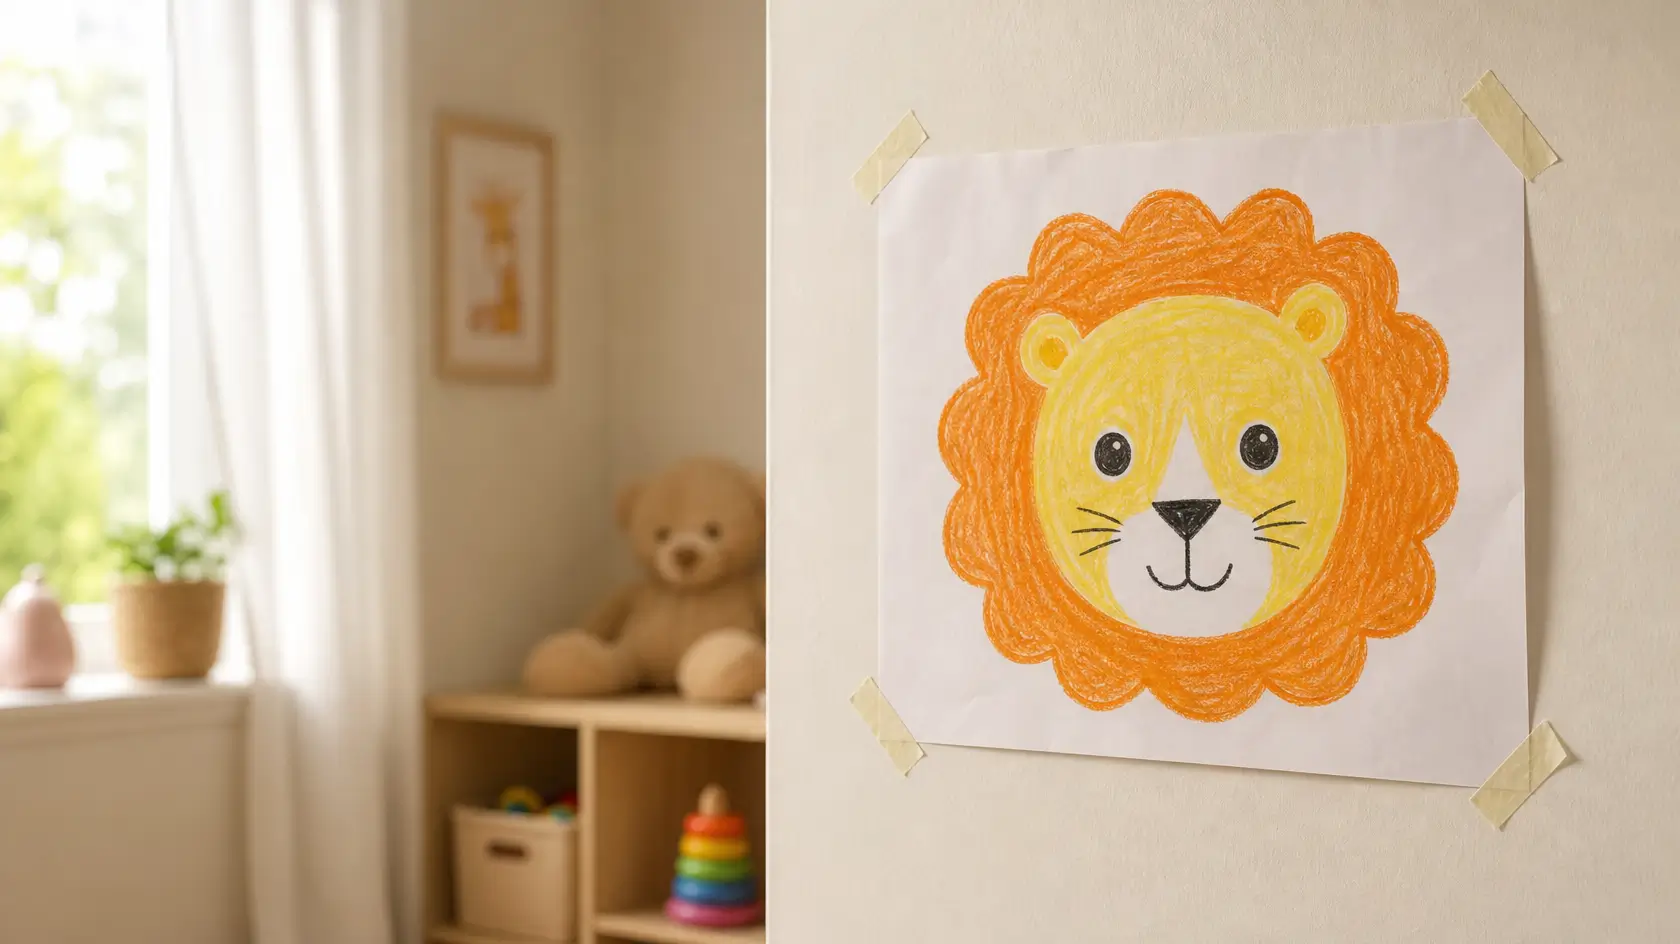
A cute lion face is drawn in five simple steps: a circle for the face, two small ears, a big round mane, the eyes, nose, and smile, and then colouring it in with orange, yellow, and brown pencils. It takes about 20 minutes, needs only a pencil, a piece of paper, and a few coloured pencils, and suits children aged 4 to 7 — and any adult drawing with them. No drawing experience is needed, because every step is one shape at a time.
This is the drawing to start with. A lion face is made of circles and curves only — no straight lines, no tricky angles — so a child can draw it and recognise it at once. Draw it once on scrap paper, then draw it again on good paper, and it is ready to hang on the wall or give as a card.
| Skill level | Beginner — no drawing experience needed |
| Active time | About 20 minutes |
| Ages | 4–7, with an adult nearby |
| Drawings per sitting | 1 lion face, plus 1 practice try |
| Cost | Almost nothing — pencil, paper, and coloured pencils |
| Difficulty | Easy |
A note for parents: let the child draw the shapes themselves, even if the circle comes out wobbly. A wobbly circle is a lion too, and correcting every line teaches the child that drawing is about being perfect, not about having fun. The adult draws one lion first, as an example, and the child draws theirs next to it.
What You Will Need
- 1 sheet of white paper, A4 or letter size
- 1 pencil, soft — HB is best, because it erases cleanly
- 1 eraser
- Coloured pencils: orange, yellow, light brown, and black
- A dark green fabric cloth as your work surface, with the paper on top of it
Step 1: Gather Your Materials and Draw the Face Circle
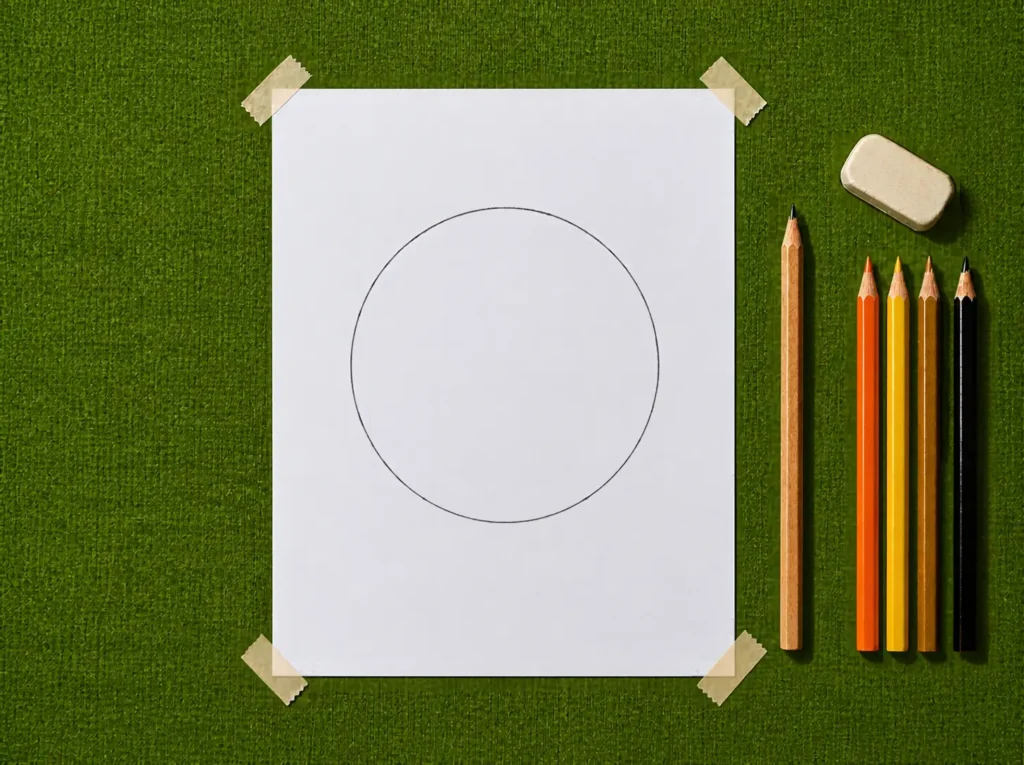
Lay everything out on the cloth before you start. Put the white paper in the middle, the pencil and eraser beside it, and the coloured pencils in a neat row to one side. Draw one big circle in the middle of the paper — about the size of your hand spread out — for the lion’s face. Draw it slowly, in one go, and do not worry if it is not perfectly round.
Do this first and the drawing never has to stop while you search for a pencil. A drawing left half-finished while you look for the eraser will already have a smudge on it.
Step 2: Add the Two Ears
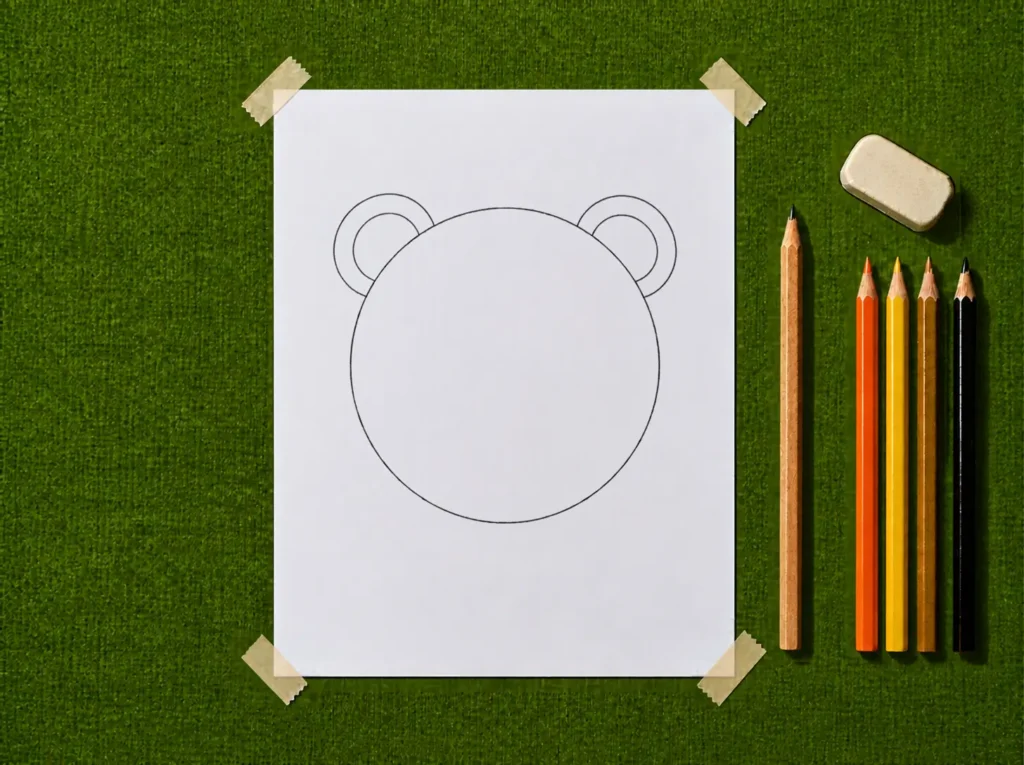
Draw two small half-circles on the top of the big circle, one on the left and one on the right, for the lion’s ears. Make them the same size — about the size of your thumb — and leave a gap between them at the top of the head. Inside each ear, draw a smaller half-circle, for the orange inner circle you will colour in Step 5.
If an ear comes out too big, erase it and draw it again. The eraser is part of drawing, not a sign that you did it wrong.
Step 3: Draw the Big Round Mane
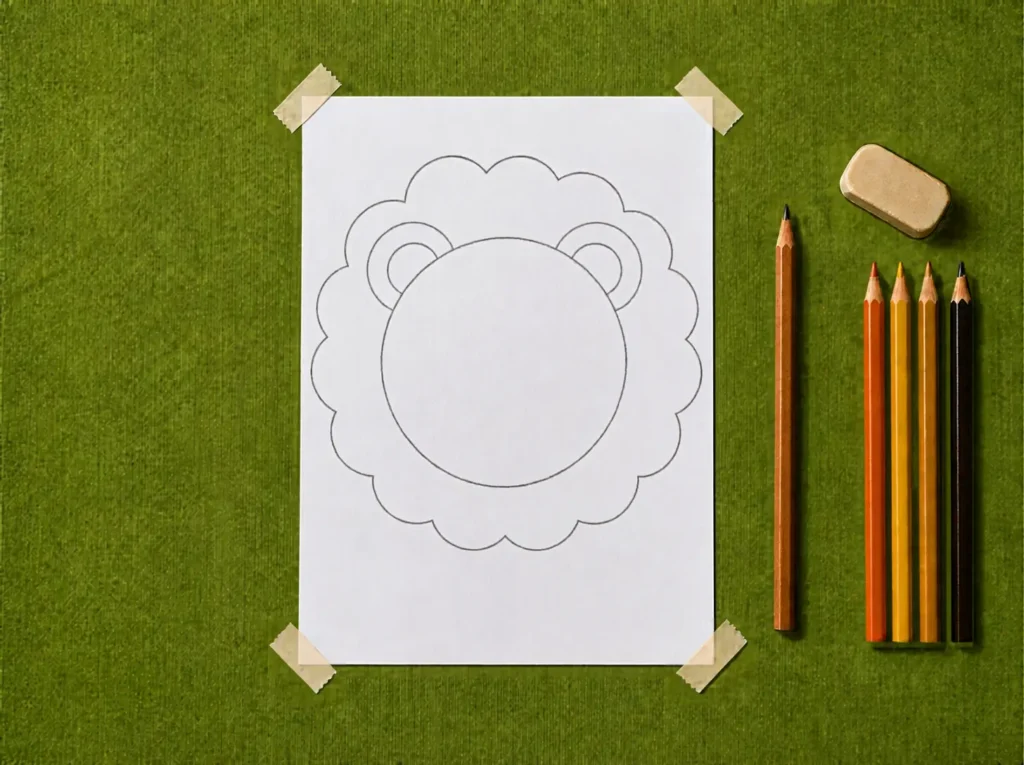
Draw a second, bigger circle around the first one, leaving a ring of space between the two circles — this ring is the lion’s mane. Make the outer circle wavy, with small bumps all the way around, like the edge of a flower, instead of a smooth line. The bumps are what make it look like fur, not like a plain circle.
Draw the mane slowly, one bump at a time, all the way around. A mane drawn in a hurry looks like a smooth ball; a mane drawn bump by bump looks like a lion.
Step 4: Draw the Eyes, Nose, Smile, and Whiskers
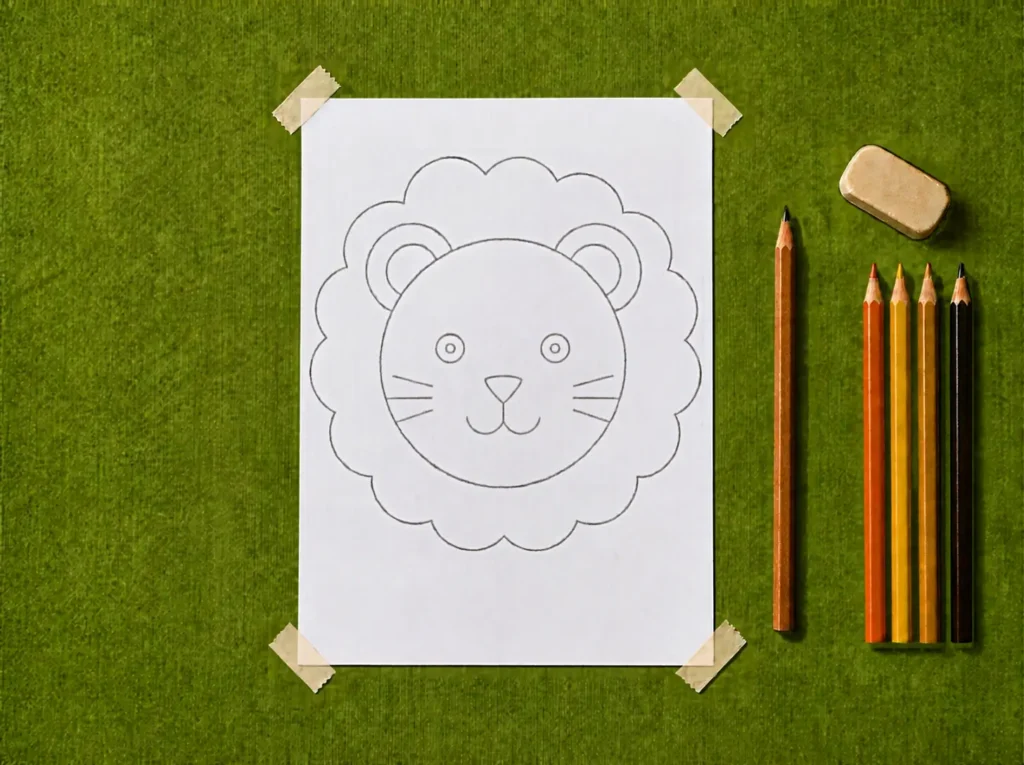
Draw the face inside the first circle, in this order: two round eyes near the top, to be coloured solid black in Step 5, with no white ring; a small black triangle in the middle, for the nose, with a short straight line down from its point to the smile; a smile under the nose made of two small curves, like the letter w; and three short whiskers on each cheek, drawn as straight lines. Draw the eyes first and the whiskers last, so you do not smudge the whiskers while you draw the eyes.
The face is what makes the lion cute, so take your time here. Two solid black eyes, one black triangle for a nose, and a w-shaped smile — that is all a face needs.
Step 5: Colour the Lion In and Hang It Up
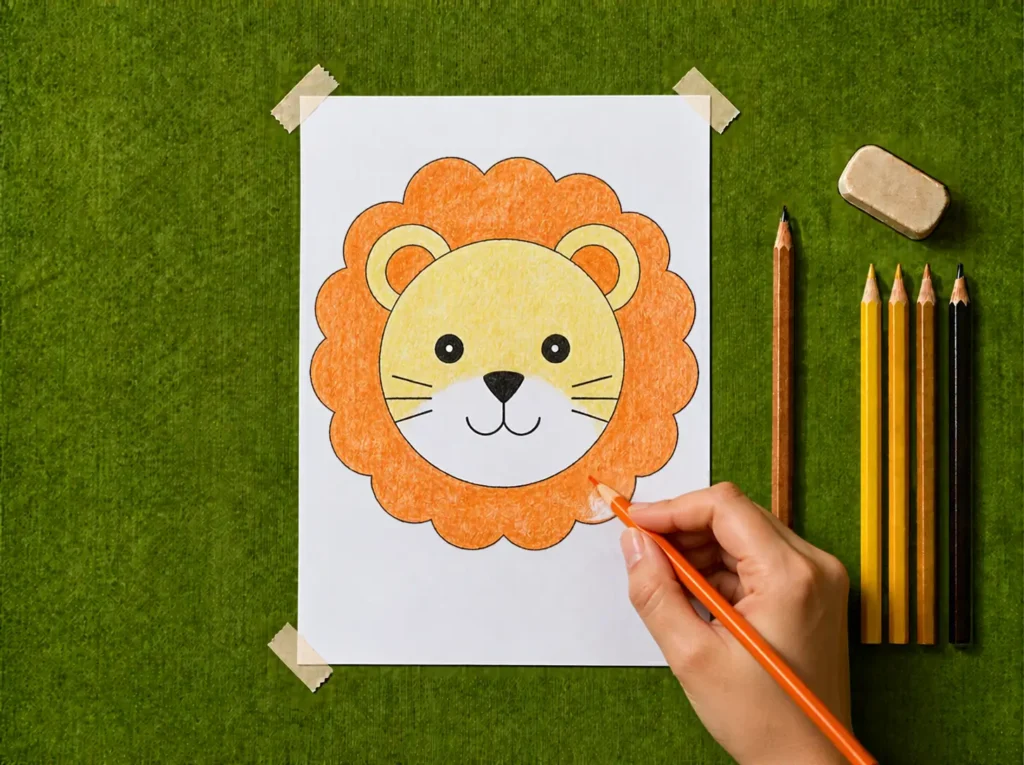
Colour the mane orange, the upper face light yellow, and leave the lower face around the nose and mouth WHITE — a white muzzle. Colour the ears light yellow with an orange inner circle. The eyes are large solid black circles with NO white ring. The nose is a BLACK triangle. The smile is two small curves under the nose, like the letter w. Colour in one direction, slowly, so the colour stays inside the lines, and press lightly — pressing hard tears the paper and makes the colour patchy. Then write the child’s name and the date in the corner, in pencil, and hang the lion on the wall or on the fridge.
Hang it where the child can see it. A drawing on the wall is a finished drawing; a drawing left in a drawer is a drawing nobody sees.
Tips
- Draw the practice lion on scrap paper first. The first lion teaches you how big to make the circle and how wavy to make the mane; the second lion, on good paper, will already be better.
- Keep the pencil lines light until Step 4. Light lines erase cleanly; heavy lines leave a grey mark even after you erase them.
- Colour the mane last, not first. If you colour the mane first, your hand will smudge the orange across the face while you draw the eyes and the smile.
- If the circle comes out wobbly, keep it. A wobbly circle is a lion with character, and no child ever drew a perfect circle on their first try.
Variations
- Sleepy lion: draw the eyes as two curved lines, like upside-down U shapes, instead of round eyes. The lion looks sleepy, and the drawing takes one minute less.
- Girl lion: add a small pink bow on one ear, drawn as two triangles with a dot in the middle. It takes one step and changes the whole drawing.
- Lion card: draw the lion smaller, in the middle of a folded card, and write “Happy Birthday” above it in pencil. It is ready to give as it is — no envelope needed.
Frequently Asked Questions
What age is this lion drawing for?
Ages 4 to 7, with an adult nearby. A 4-year-old can draw the circle, the ears, and the mane with help; a 7-year-old can draw the whole lion alone, including the face.
My child’s circle is not round — is that a problem?
No. A wobbly circle is still a lion face, and the mane around it hides the wobble. Let the child draw the circle themselves, and only help if they ask for help.
Which pencils should I use?
A soft HB pencil for the drawing, because it erases cleanly, and ordinary coloured pencils — orange, yellow, light brown, and black — for the colouring. You do not need artist pencils for a child’s drawing.
How do I keep the colour inside the lines?
Colour slowly, in one direction, and press lightly. Pressing hard makes the colour patchy and tears the paper; a light hand and slow strokes stay inside the lines.
Can I use this lion drawing with the paper plate lion mask article?
Yes. Draw the lion face first, as a practice, and then make the paper plate lion mask from the Crafty Haven article — the child will already know where the ears, the nose, and the whiskers go.